I have this nasty habit of
letting odd and unique things follow
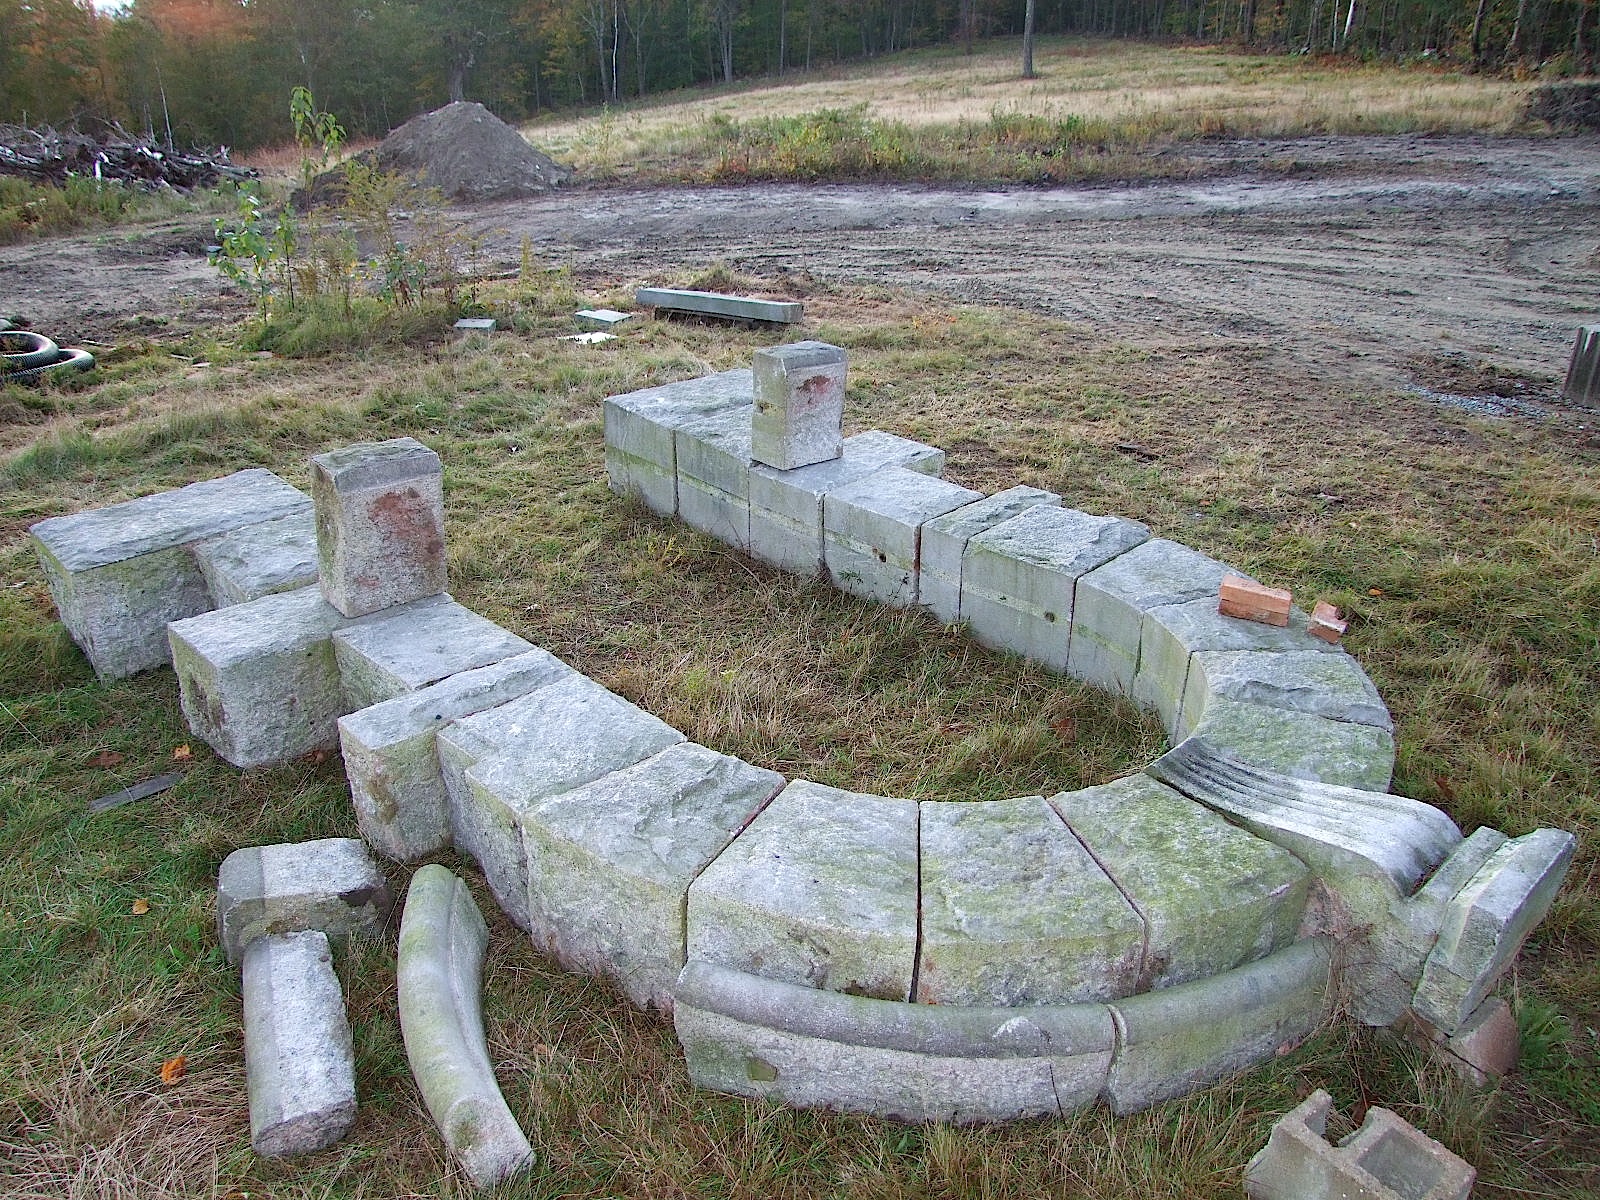
me home (thatŐs how I found my wife). I discovered one such
odd item dismantled
and arranged on the ground when out buying some old granite
curbing. It was
barking Ňbuy meÓ over and over, but only I heard it, so I
did:
Many a tool dealer likes to update their readership with projects going on around their headquarters.
Ignoring the fact that I suffer from Irish ancestry, and its obligatory passion of all things rock, IŐm never one to be outdone by any other in the tool profession. Thus, I present my weekend project, StonehengeŐs Revenge - The Sequel, the assembly of a Victorian granite arch that was formally an architectural feature on the faŤade of a New Hampshire brick building thatŐs long since been demolished.
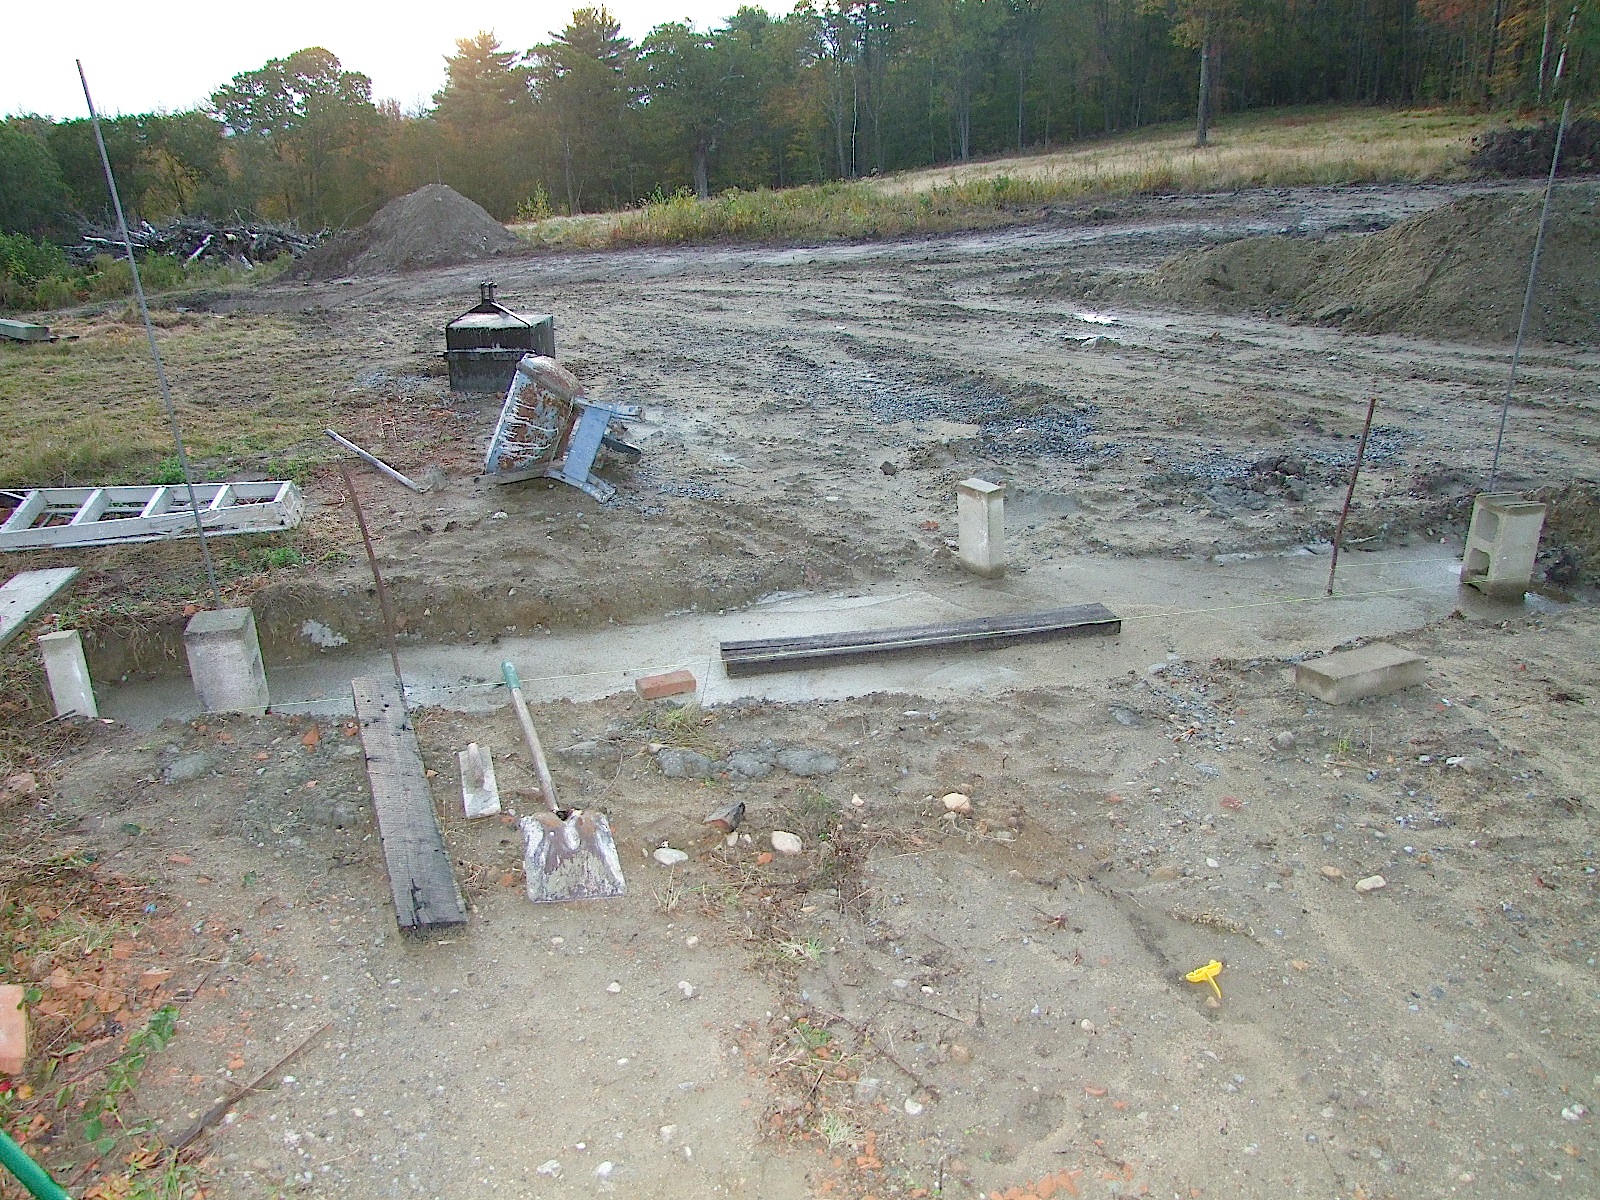
The first order of business was to dig a sufficient hole for a cement footing:

Using no wood for forms, the cement was just poured straight into the hole. Nine yards was used to fill it:
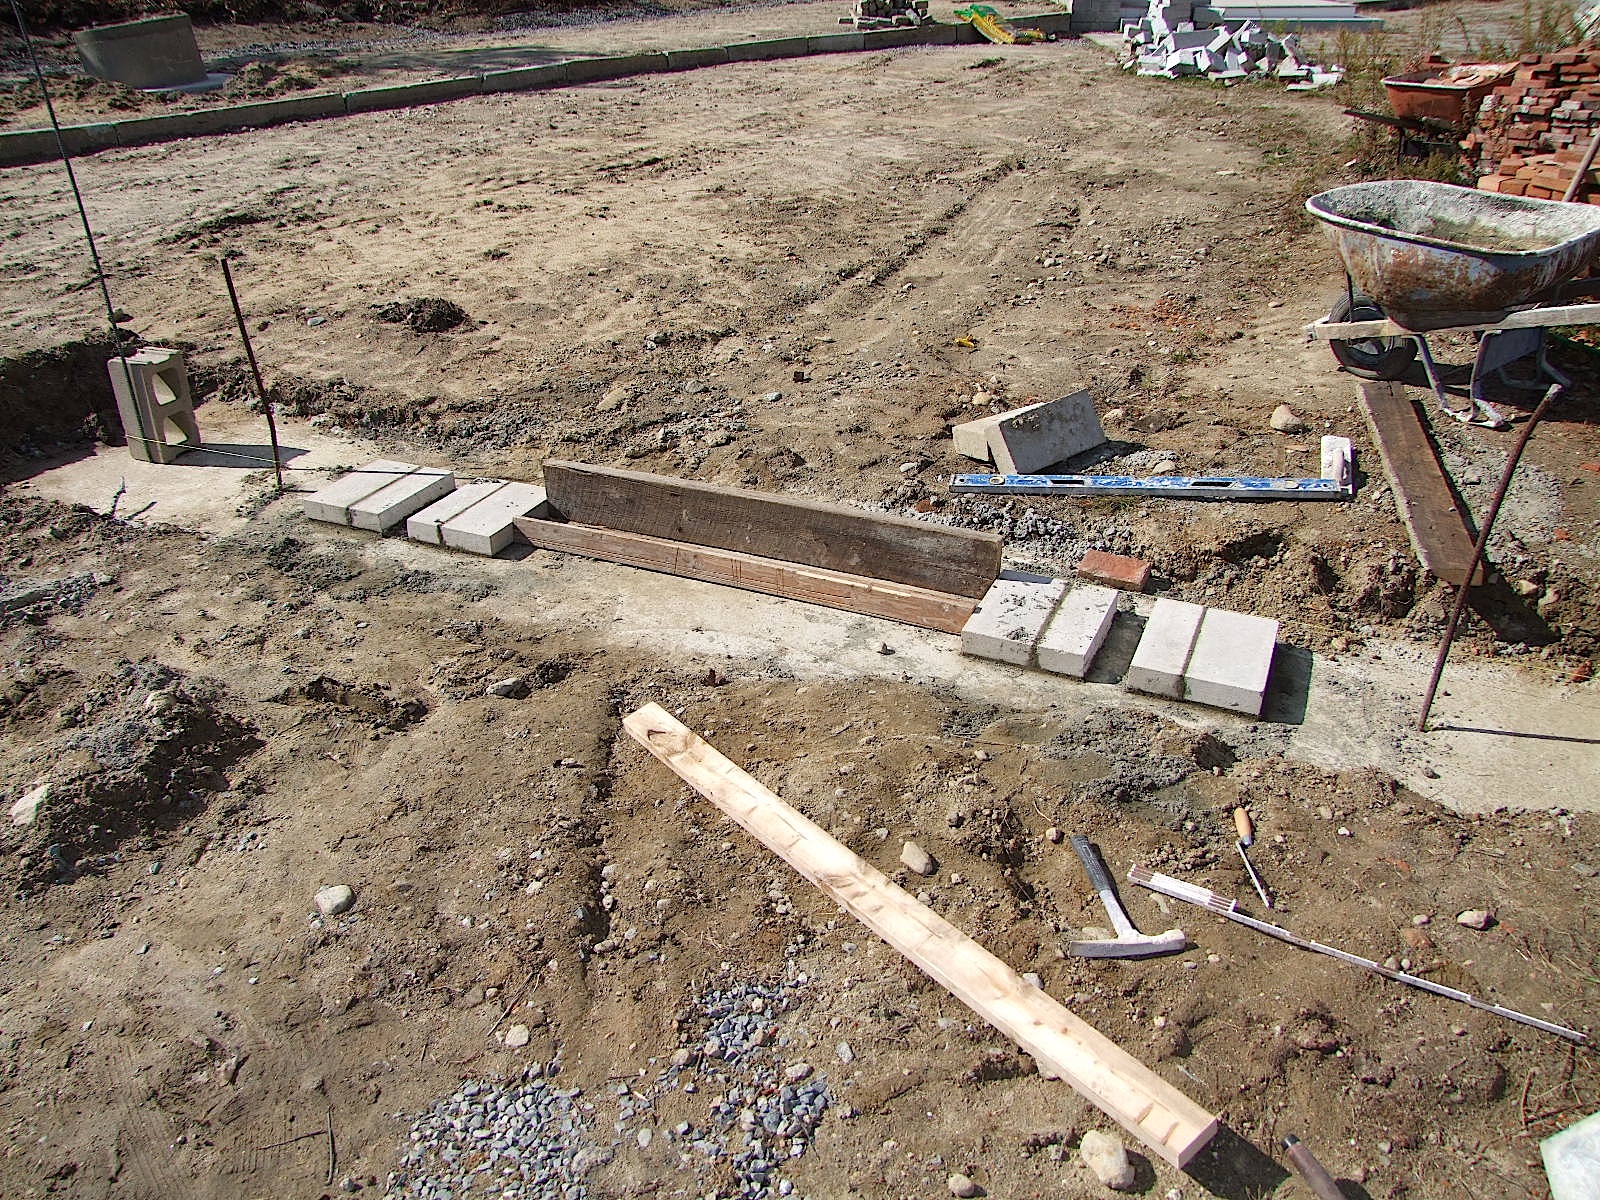
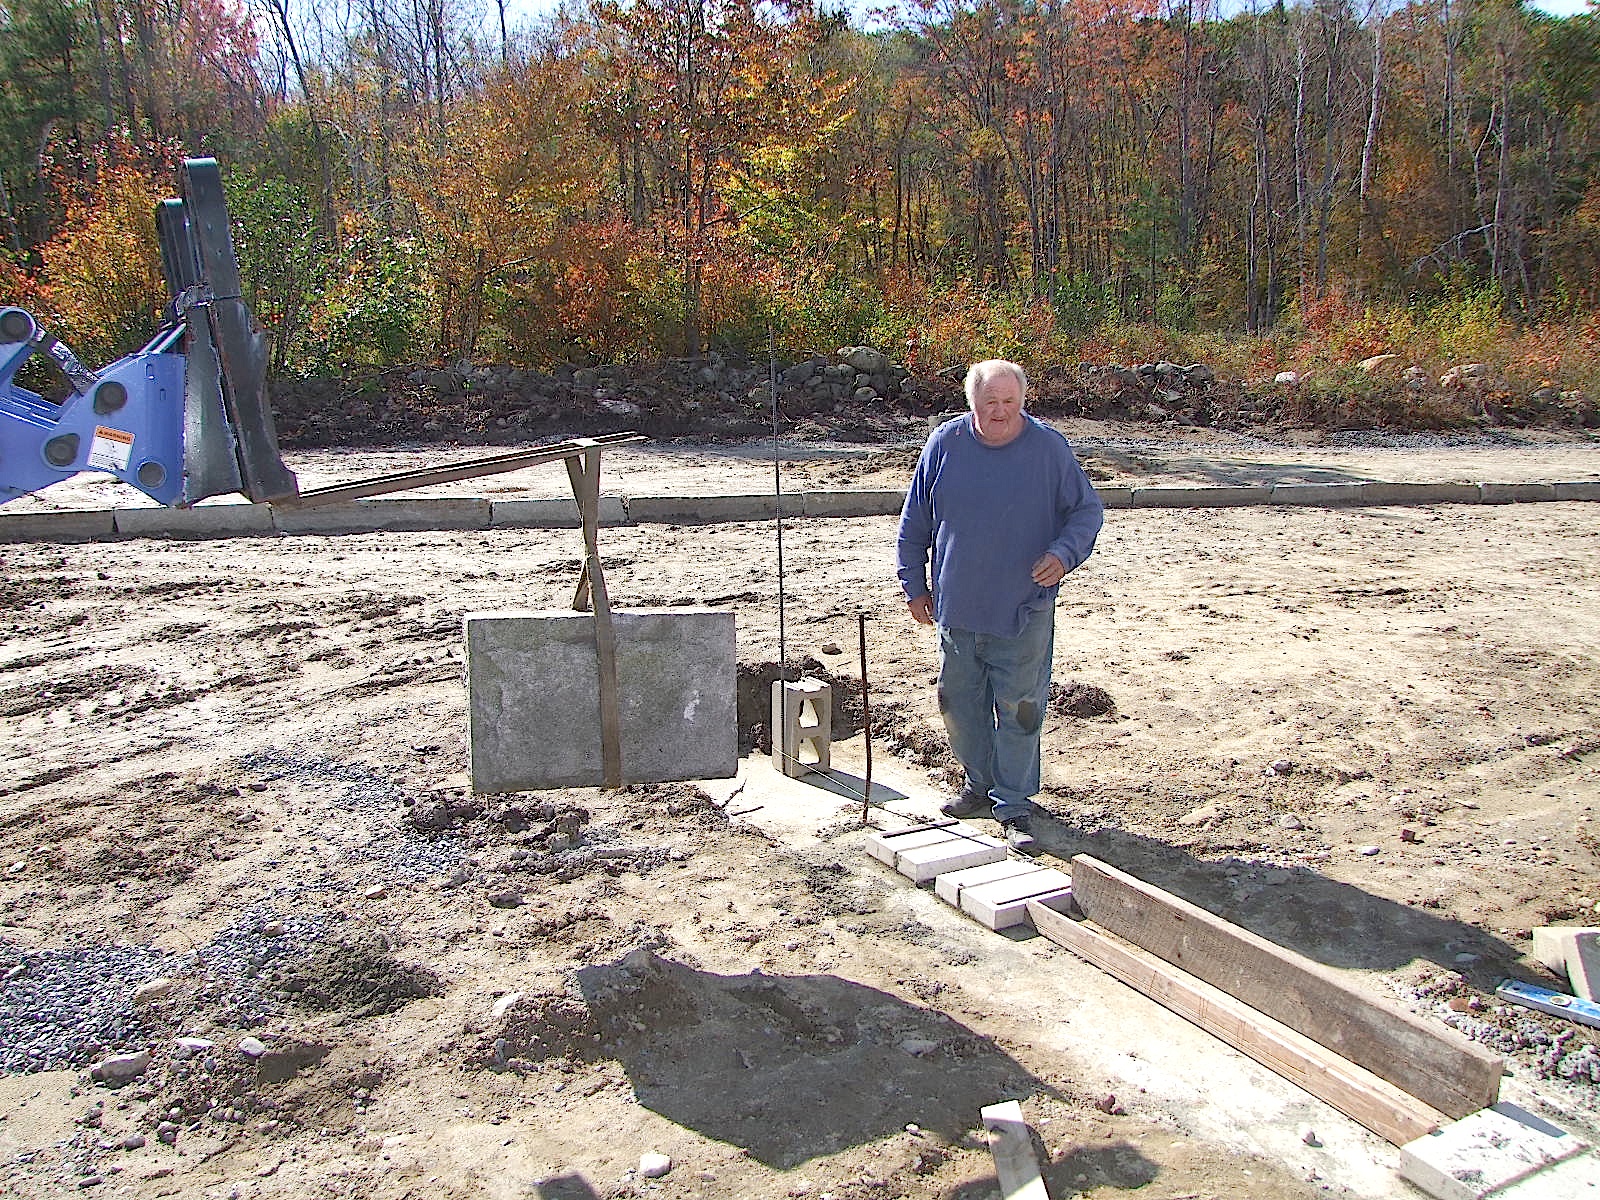
Working from something that was already made, there is no margin for error, so starting the supporting course had to be as accurate as possible. A scrap plank and some cement blocks did the trick:
Time to introduce the mason. His name is Clay. IŐm not kidding you. ThatŐs his real name. Here he is directing the first block, which weighs about 1000lbs (you folks in Europe, and elsewhere, can do the metric conversion Đ I like pounds and inches):
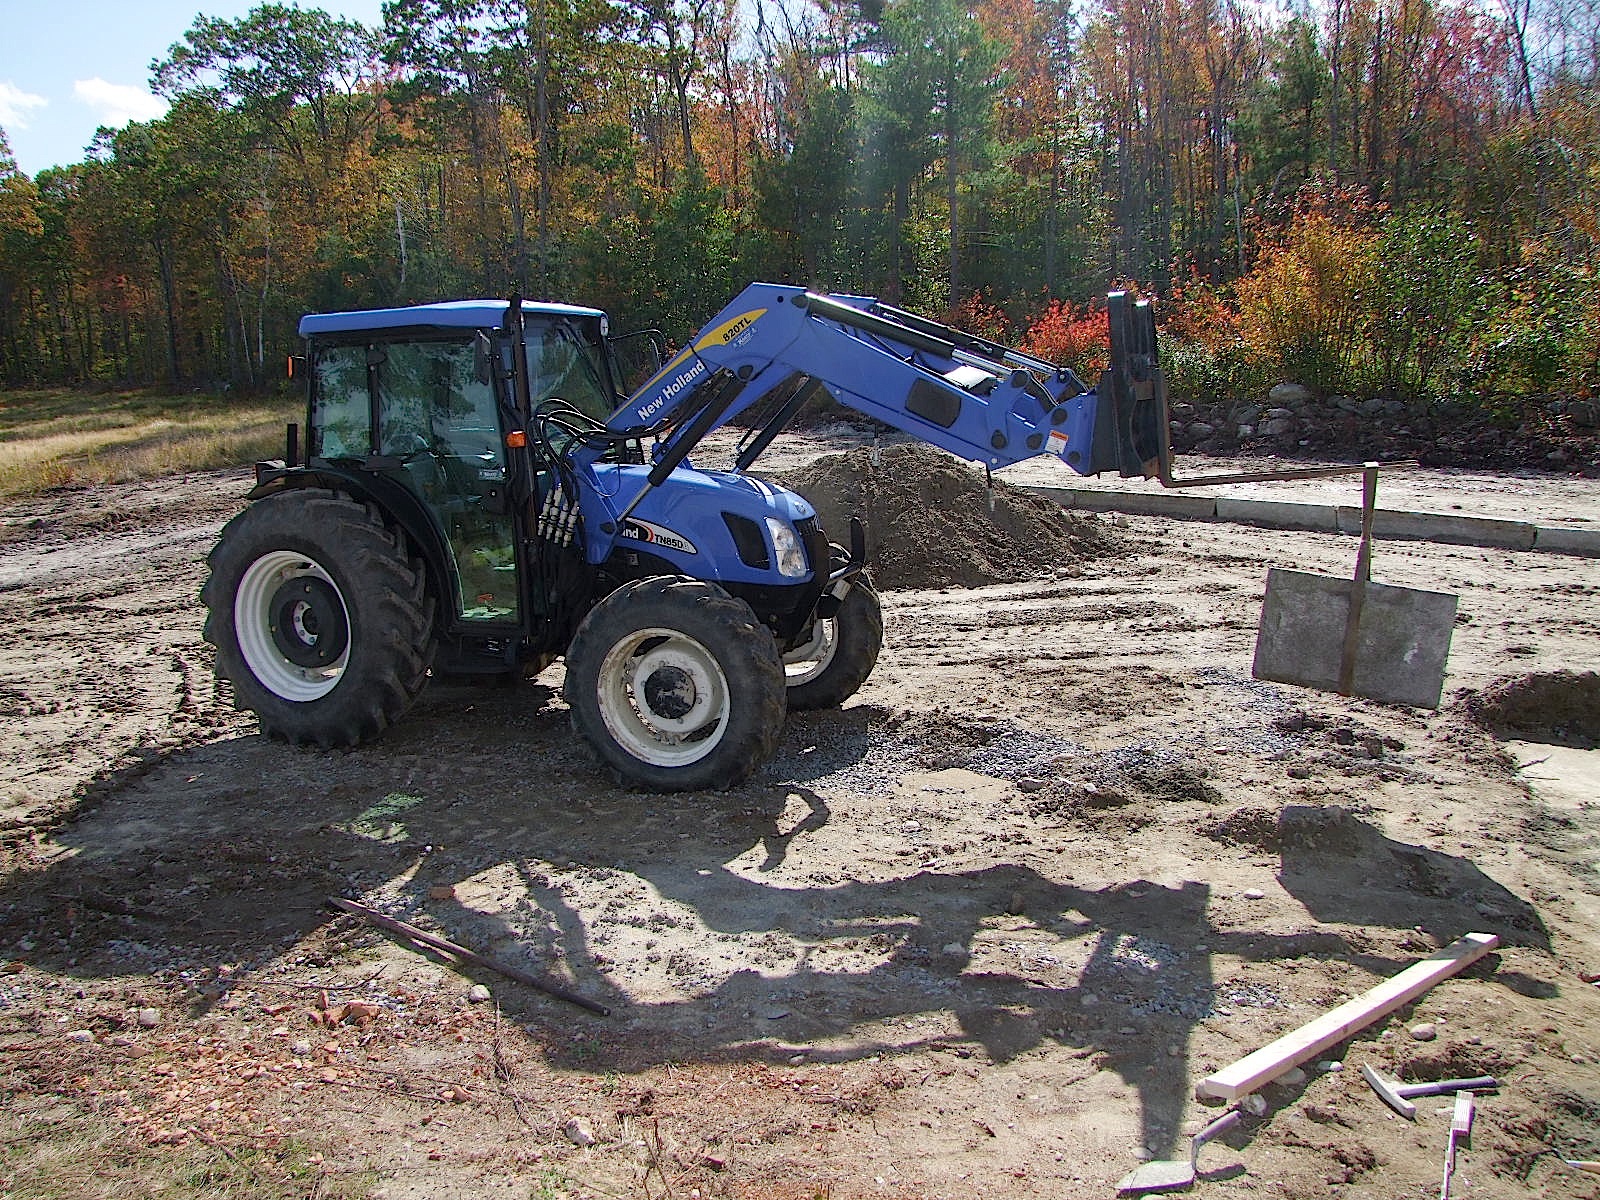
This is my toy tractor that was used to position the first three courses, but first note the trees and their autumnal splendor (more on that later):
The two bottommost blocks had to be precisely set otherwise weŐd have the Leaning Arch of Ashby on our hands and I didnŐt really want to bother with tourists coming from all over the world to see if it rivals PisaŐs effort:
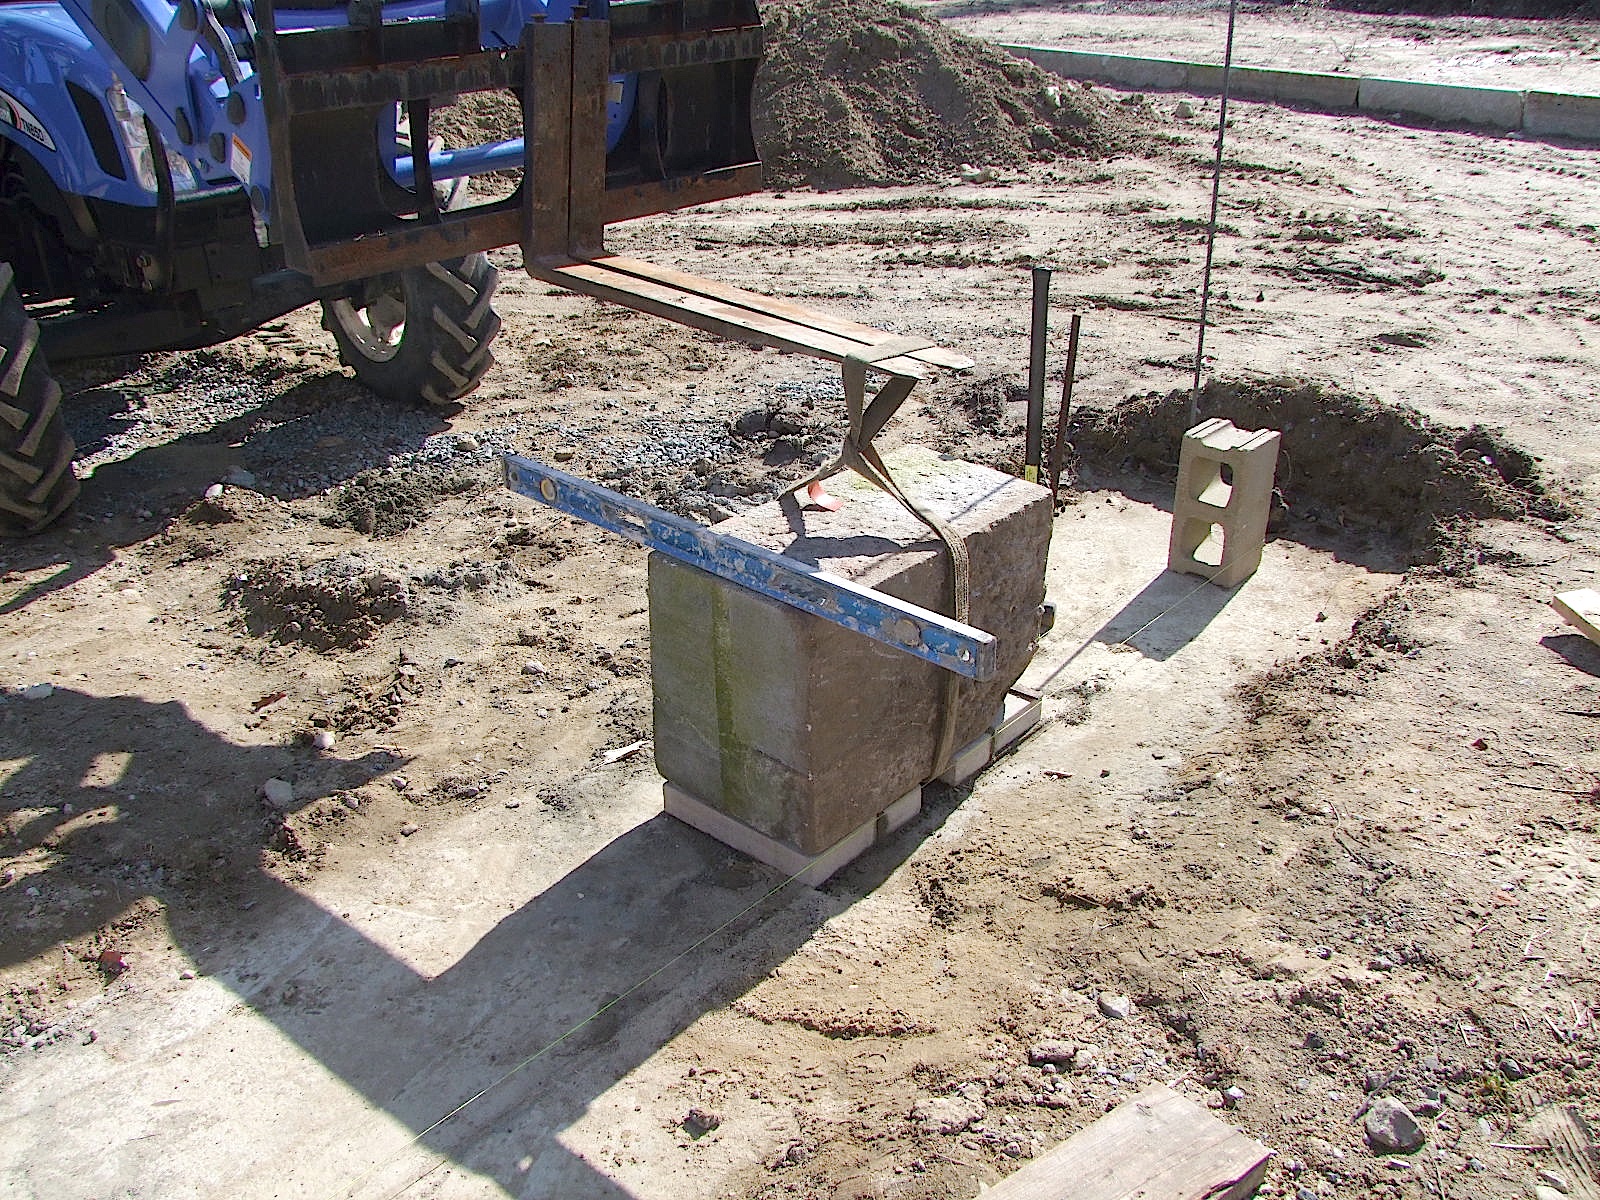
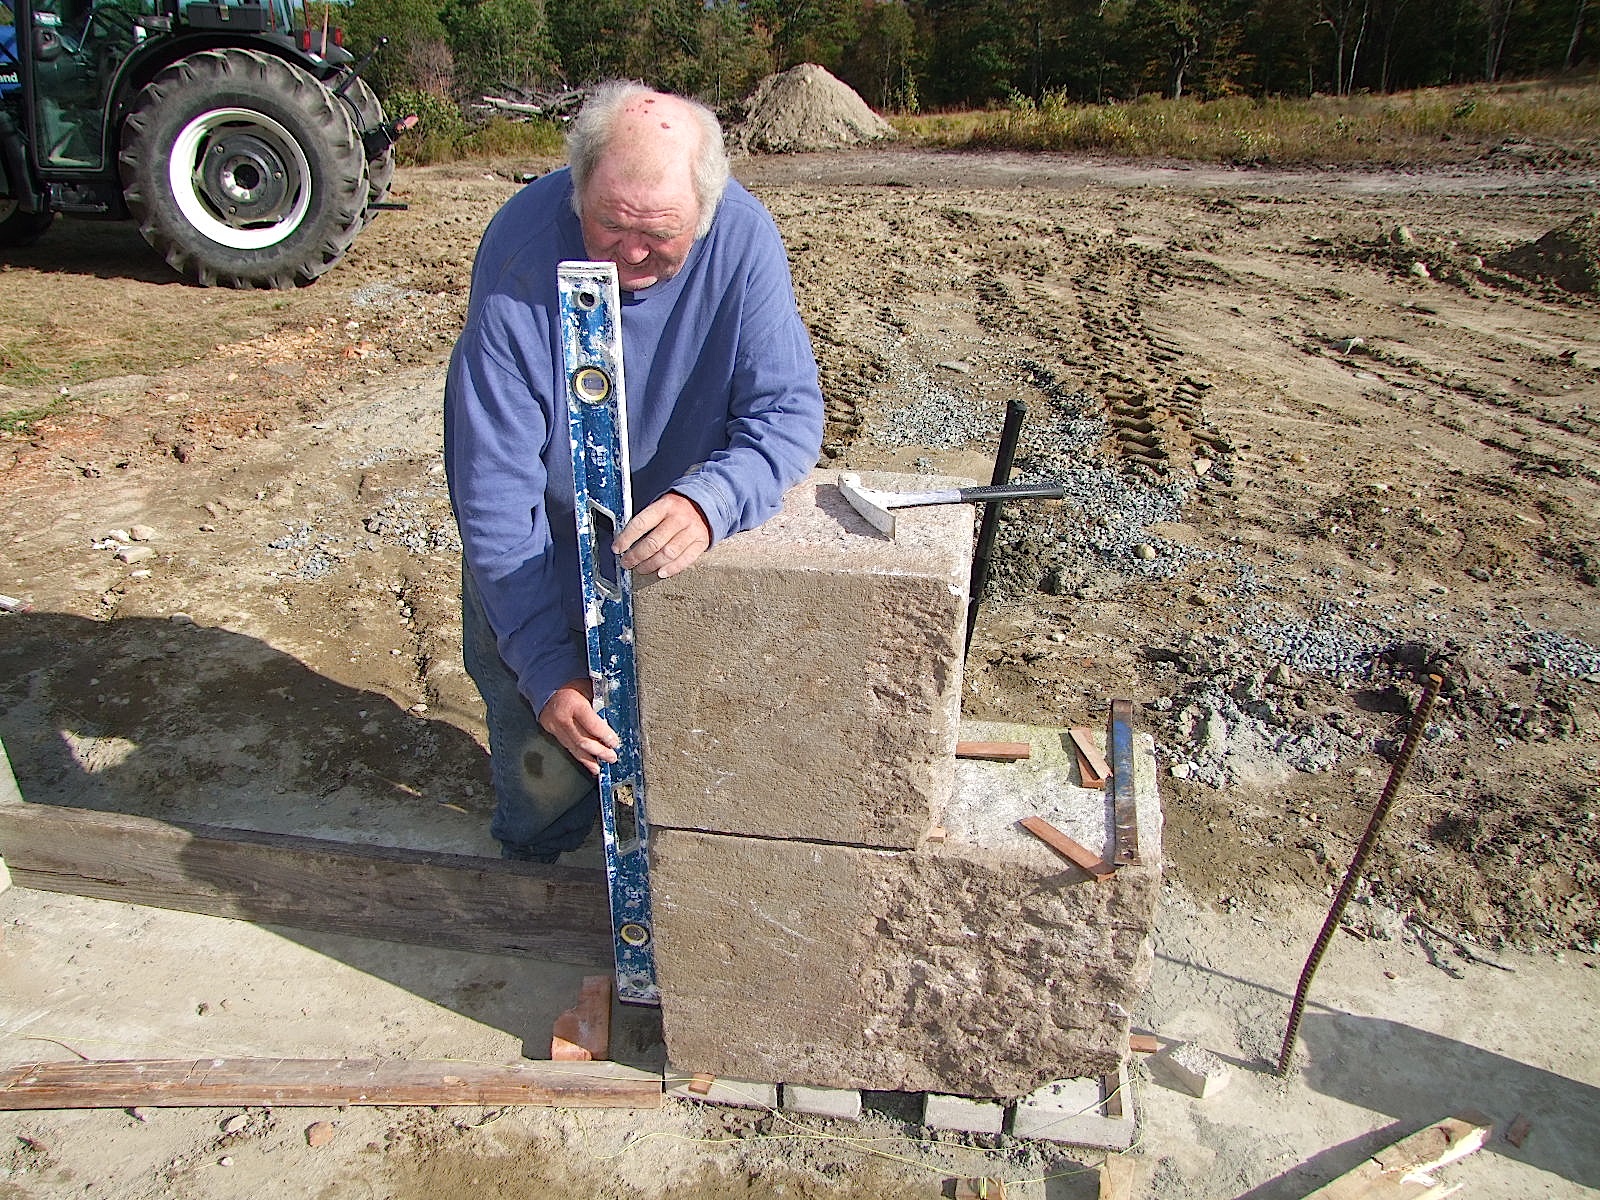
And now for the opposing granite block, using the time-tested line (donŐt call it a ŇstringÓ around Clay) and shims to make sure the faces are co-planar:
Making things plumb, he uses one of the dirtiest masonŐs levels IŐve seen:
Three courses up, and itŐs time for Nick, owner of the small excavator and who seems to be our right-hand man up here:
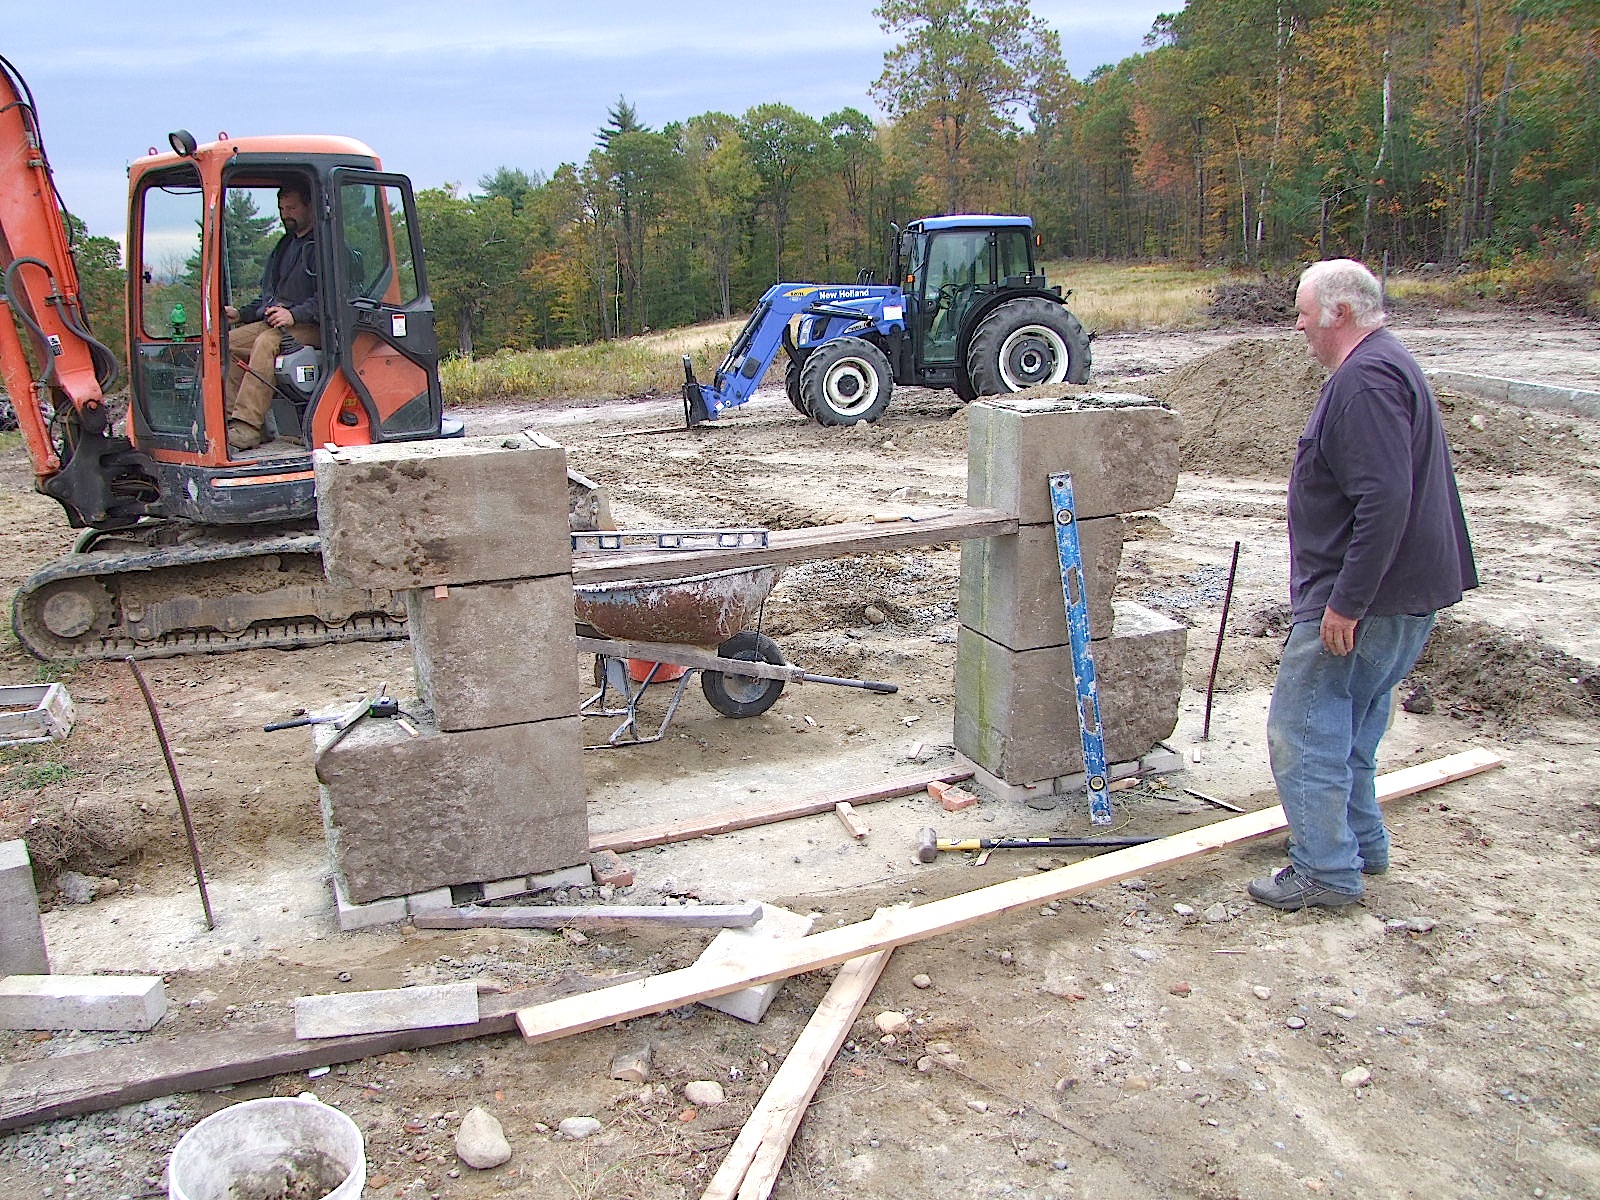
More courses, aided with hi-tech 2Ó by whatever planks to keep the spacing constant. You might wonder why the blocks are not uniform width. This is because the original brickwork was laid into the voids to create a quoin effect:
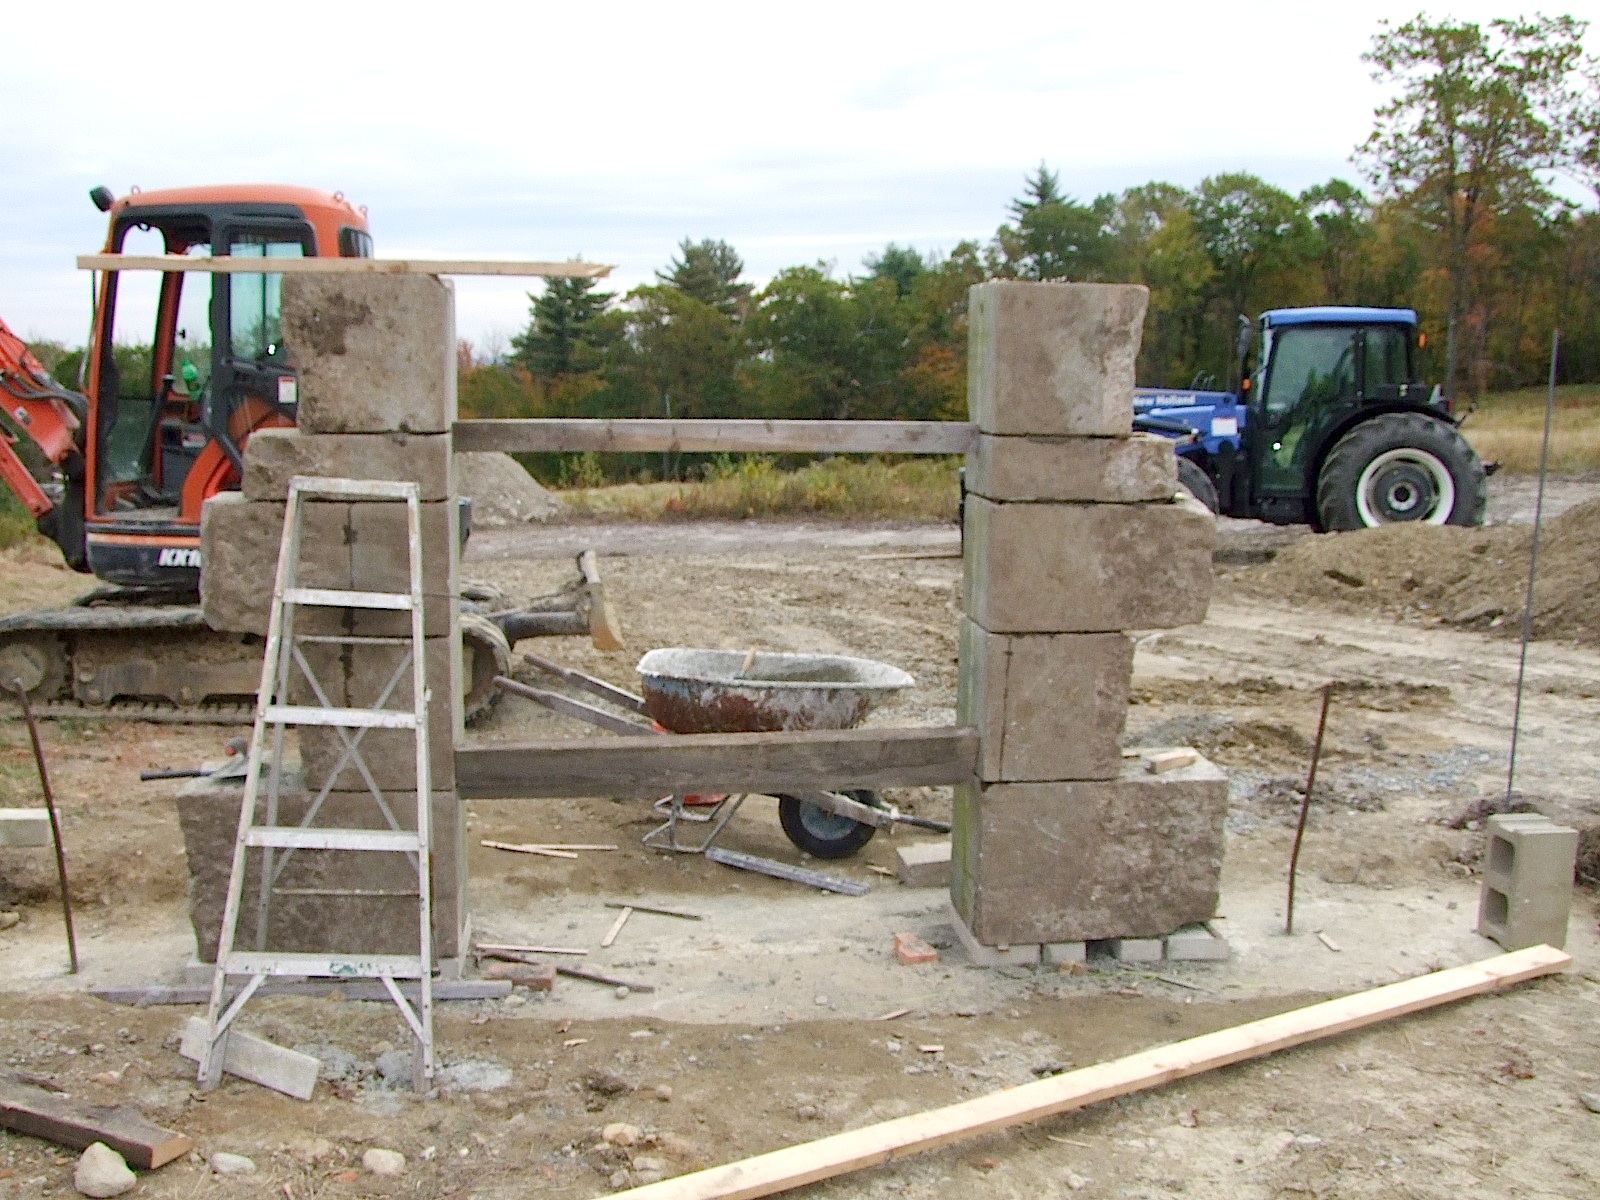
Preparing for the arch pieces, gravity has this nasty habit of making unsupported things fall (including ClayŐs pants, but IŐll spare you images of that), so itŐs time for a form:
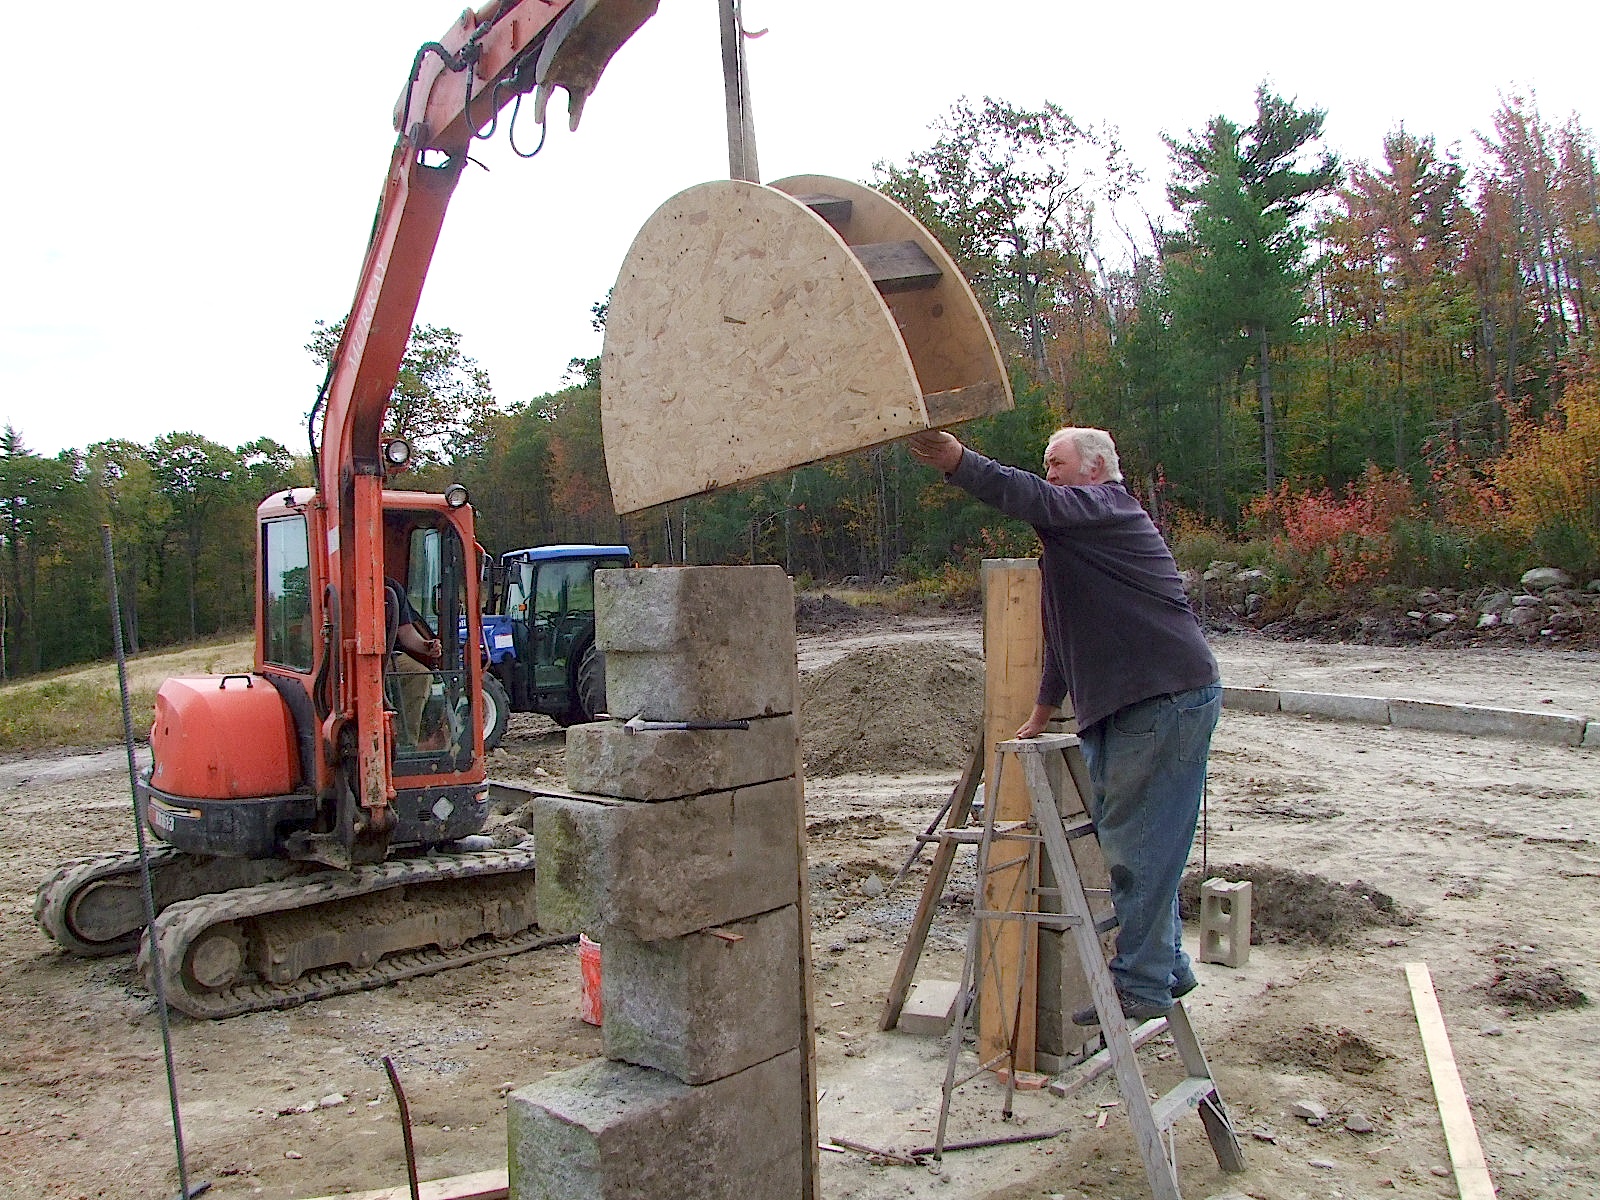
Form in place, being supported by planks:
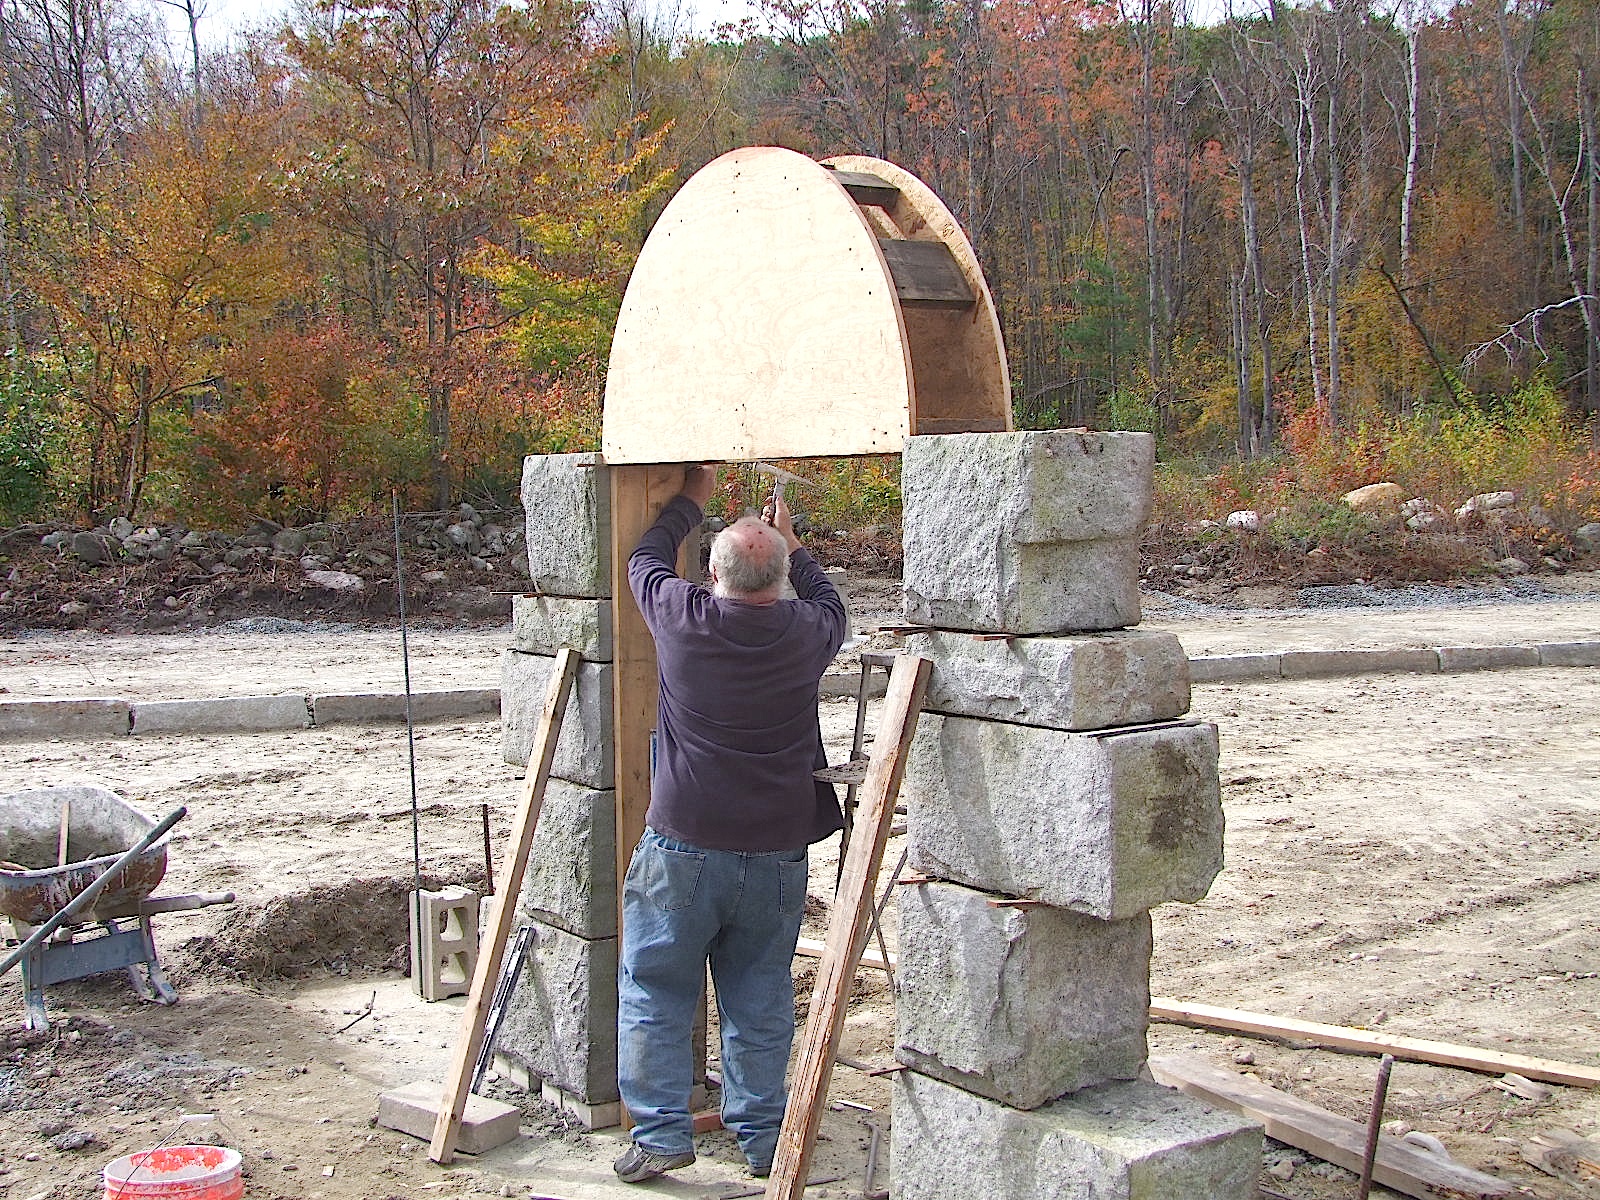
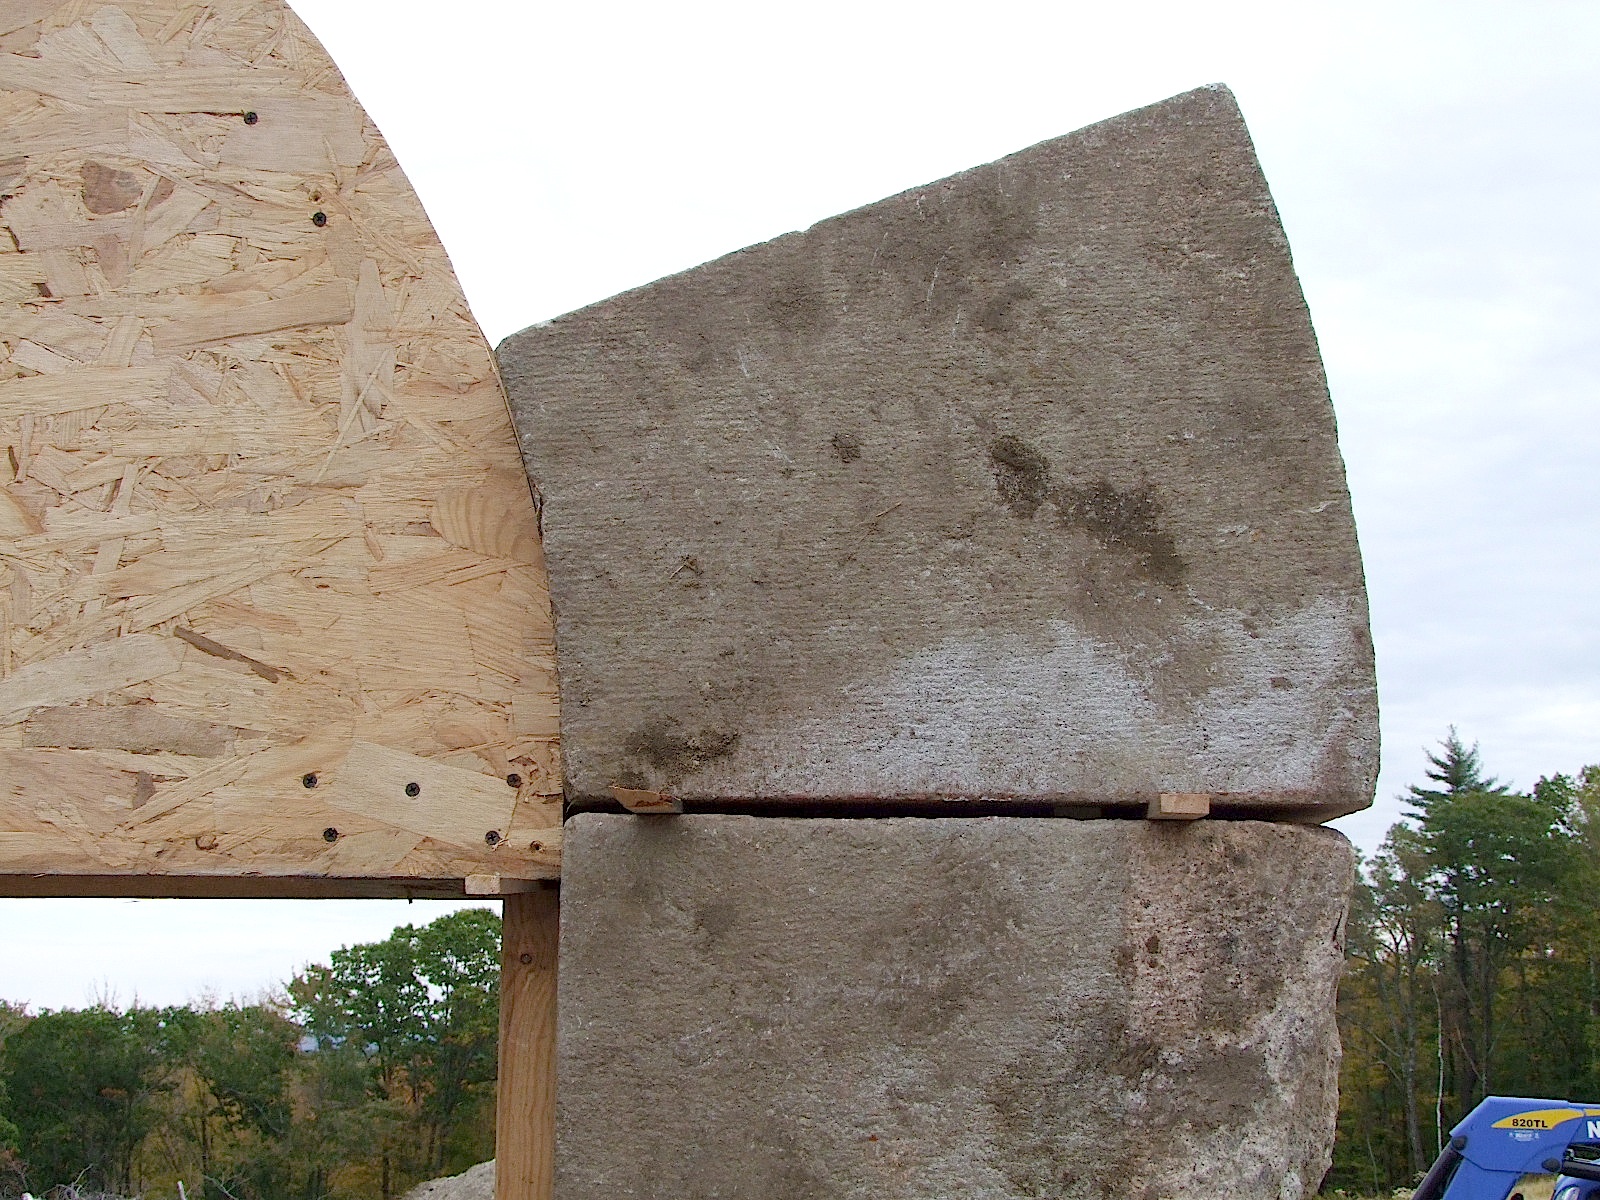
Close-up of first curved stone resting upon the form, you can see the wooden shims used to lay the entire arch up dry, leaving voids to be filled later with mortar:
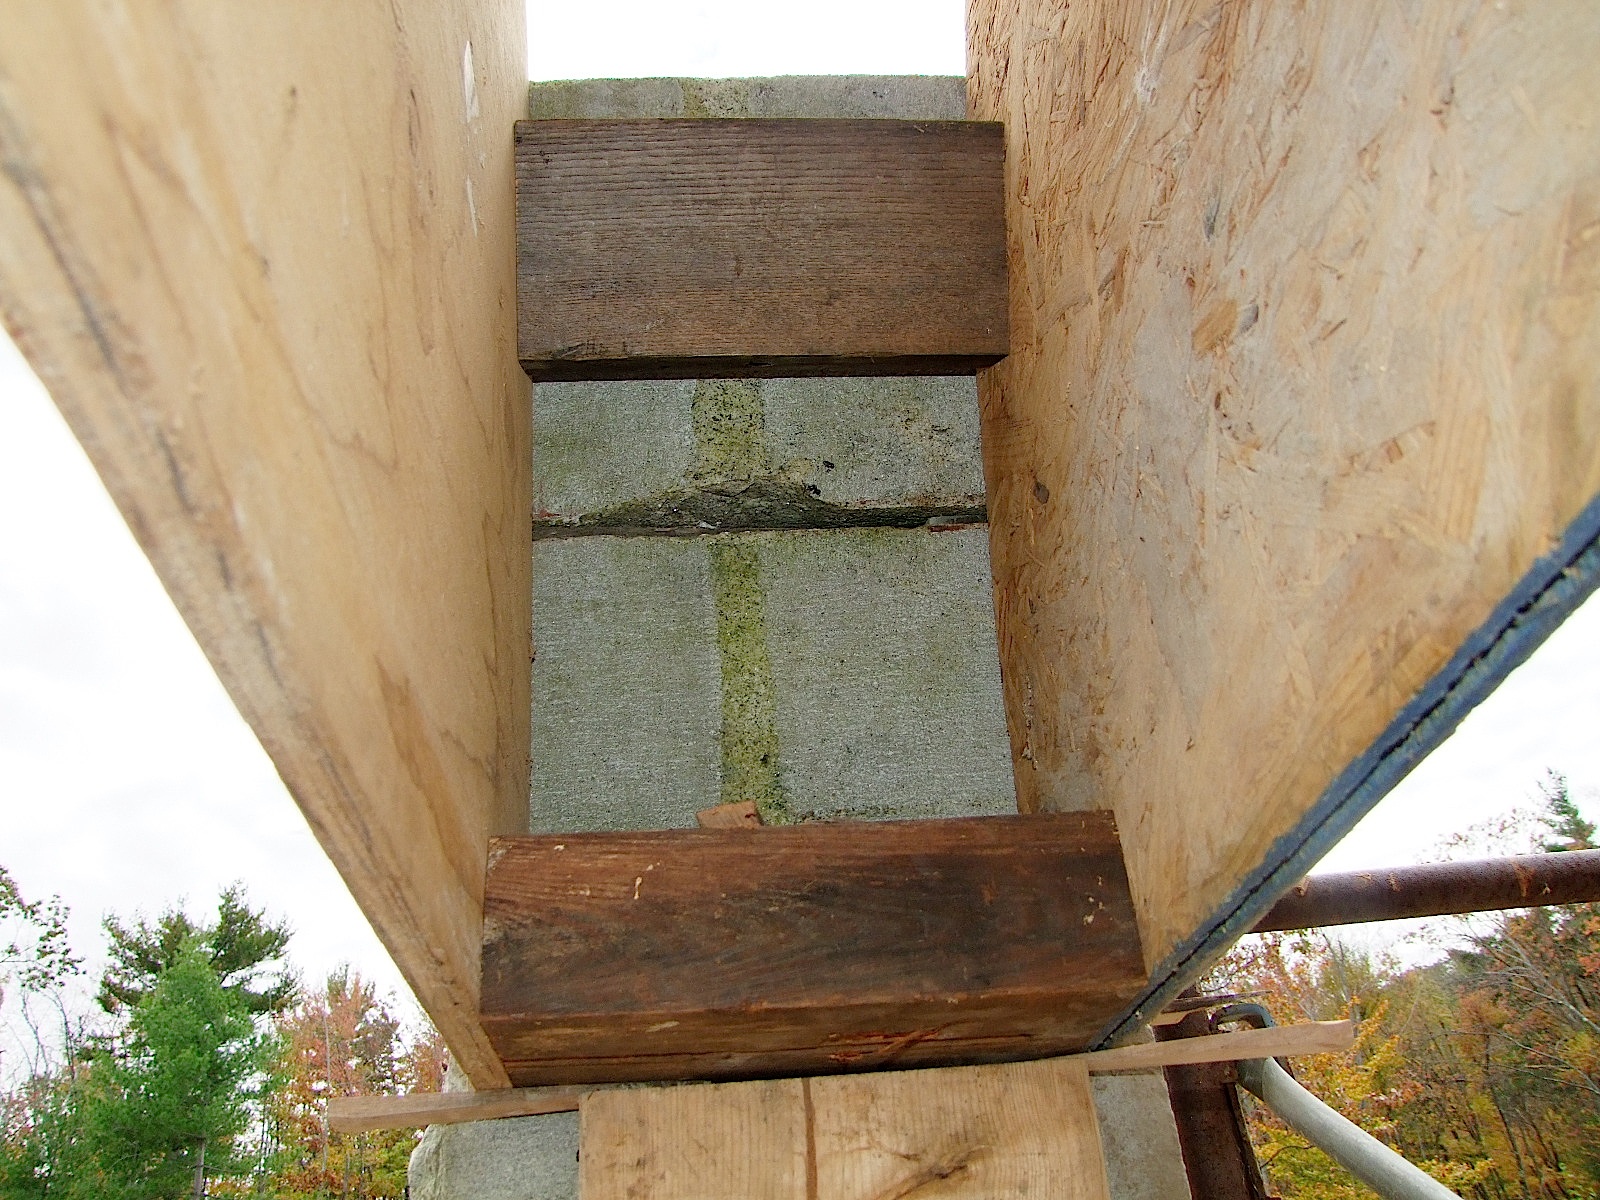
A look up, within the form, I donŐt know why I took this photo:
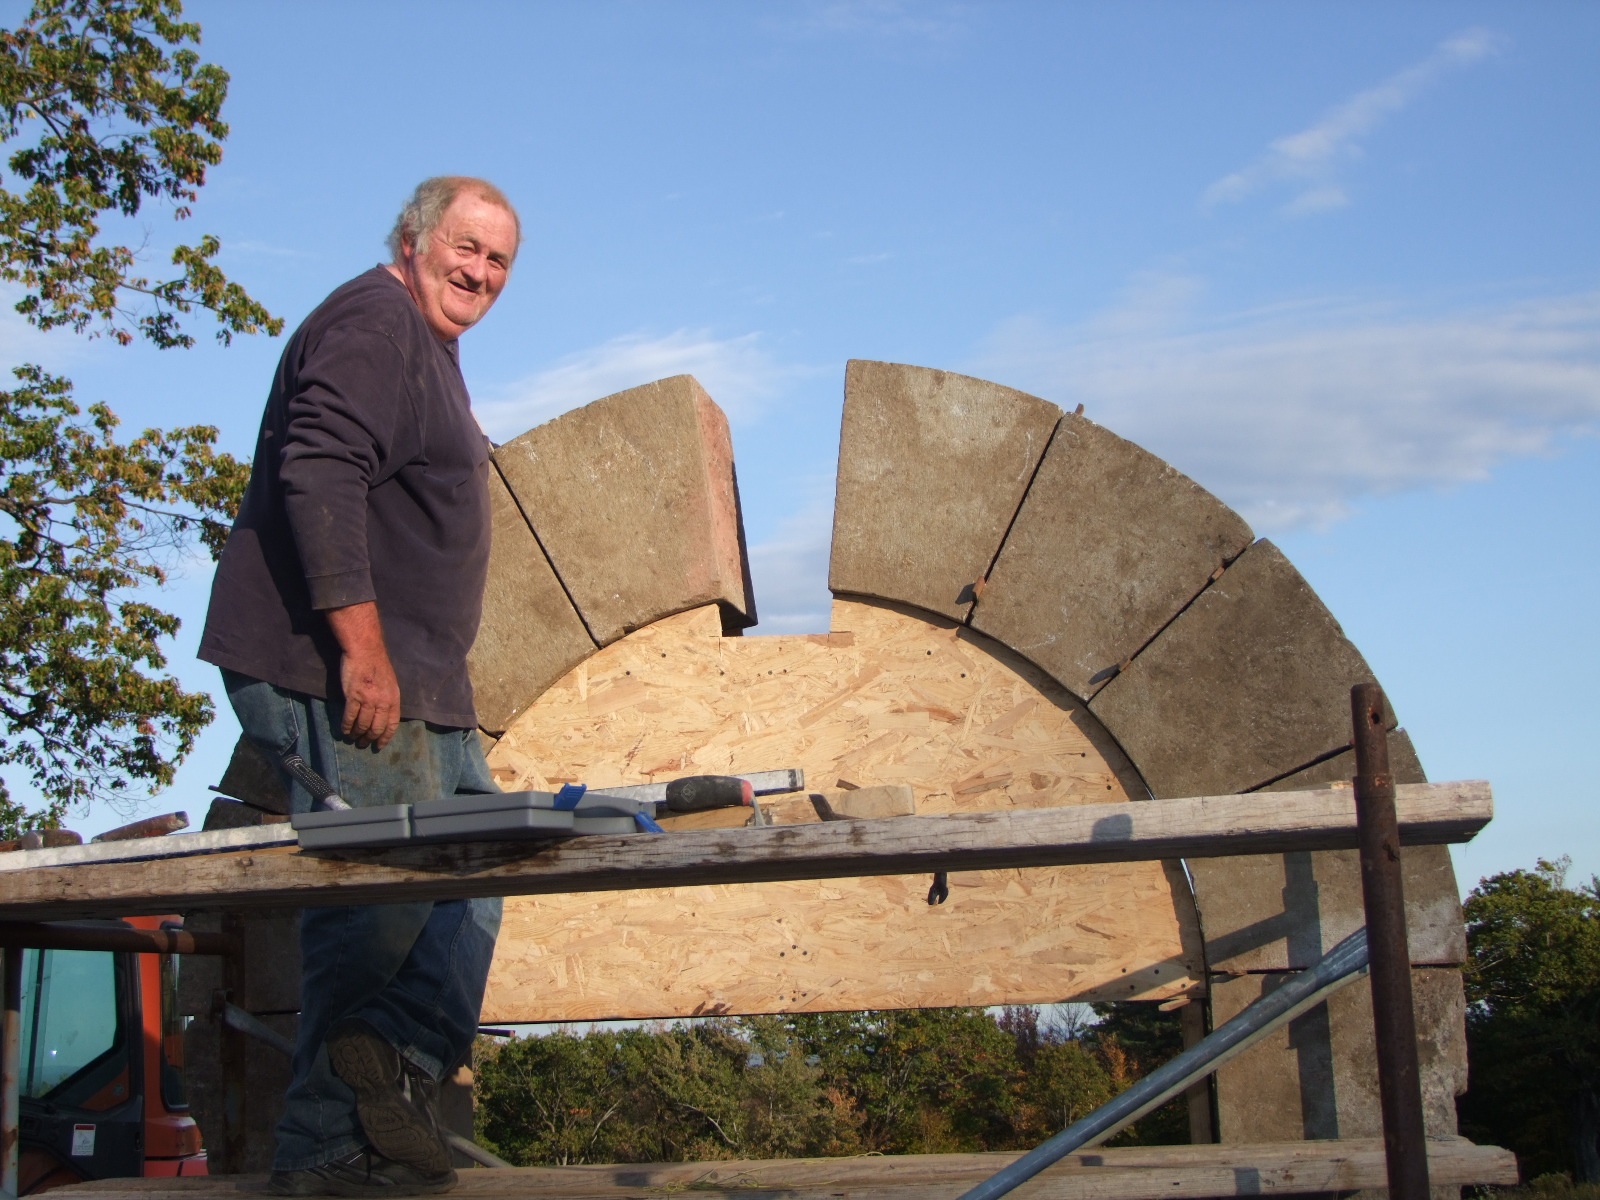
Clay now on staging, with several of the curved stones along the circumference of the form:
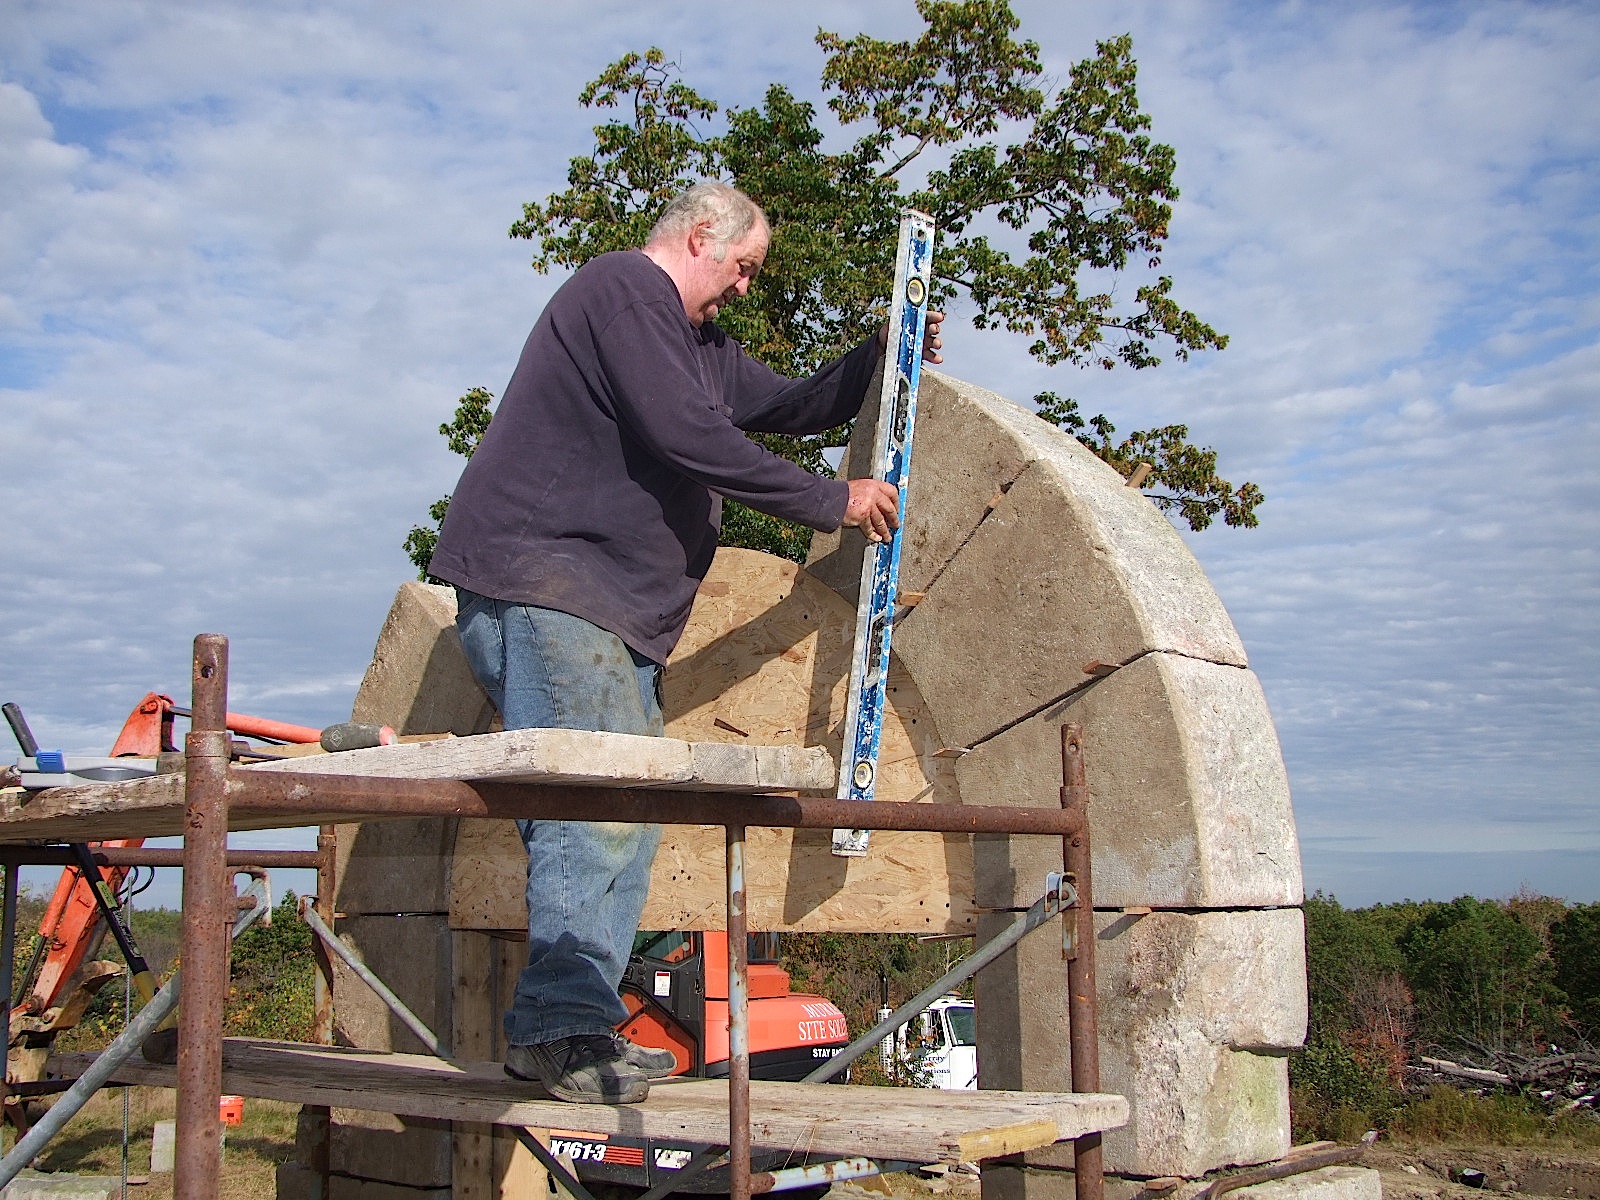
Clay almost looking like he has a millstone around his neck:
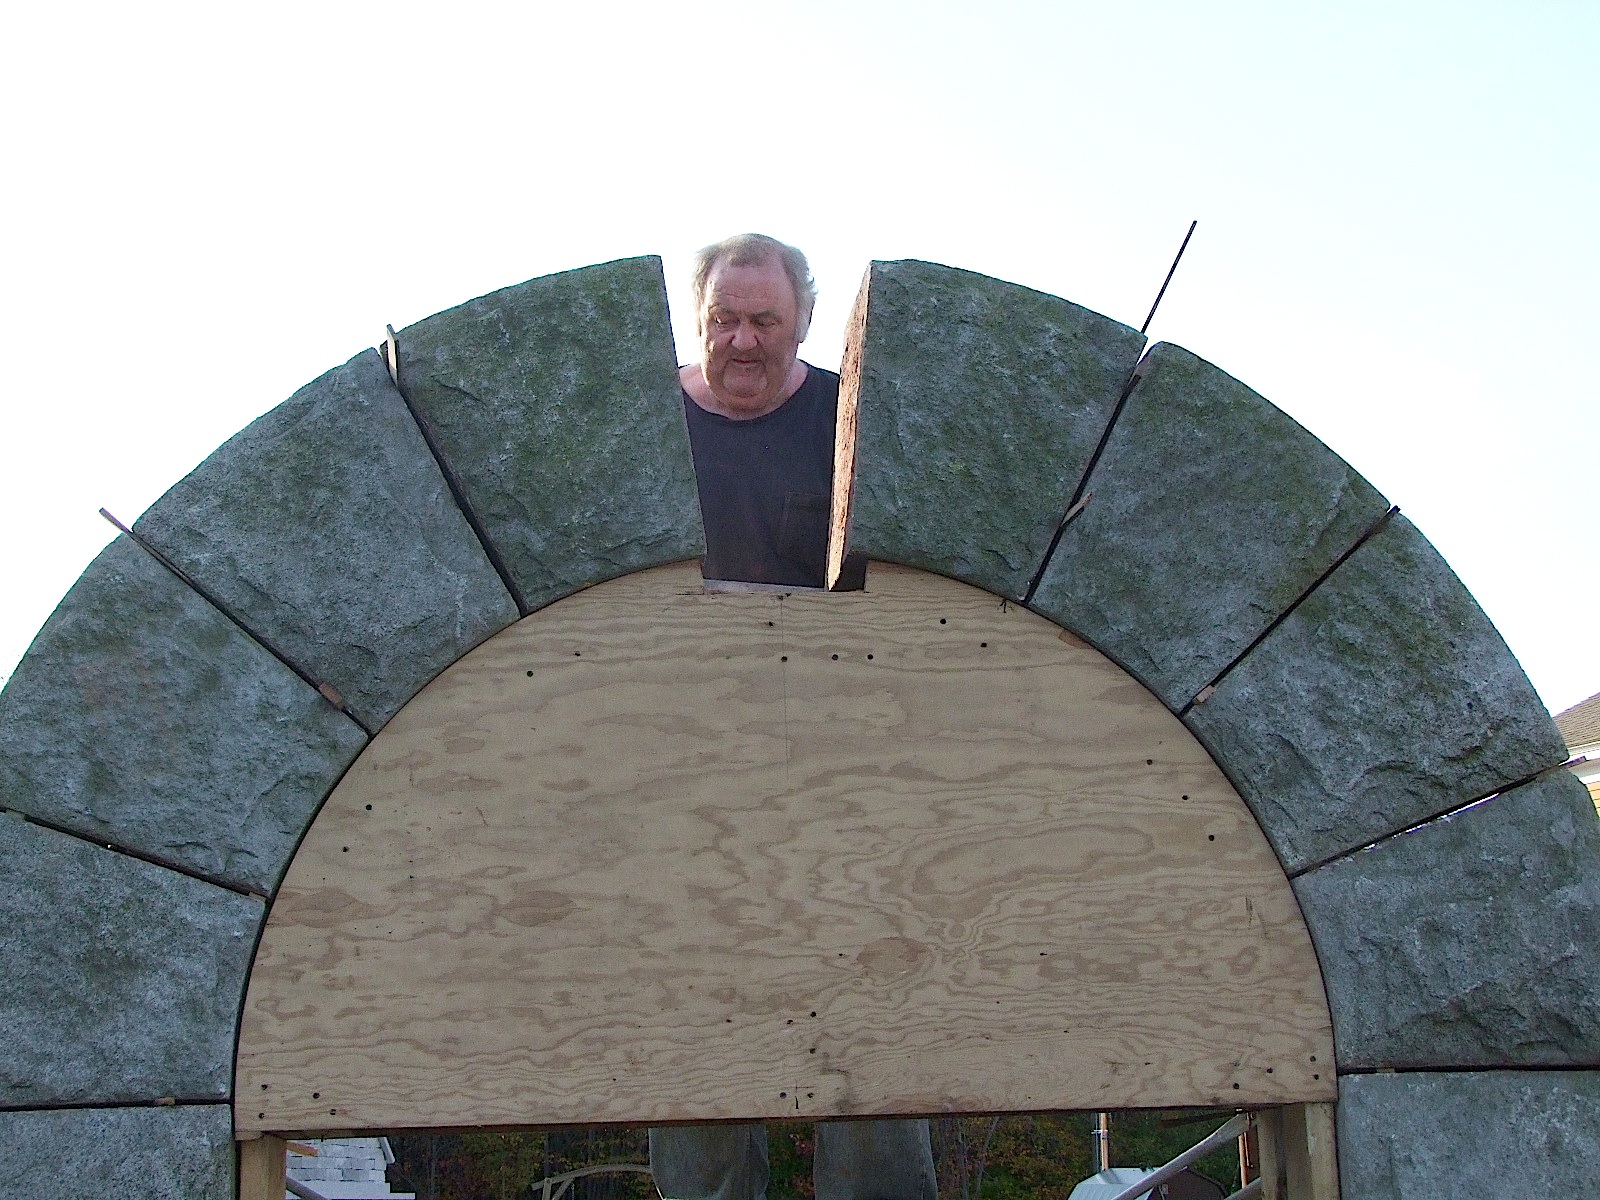
His wry grin anticipating the money shot, the critical placement of the keystone, his paycheck entirely dependent upon whether his measurements and work are accurate:
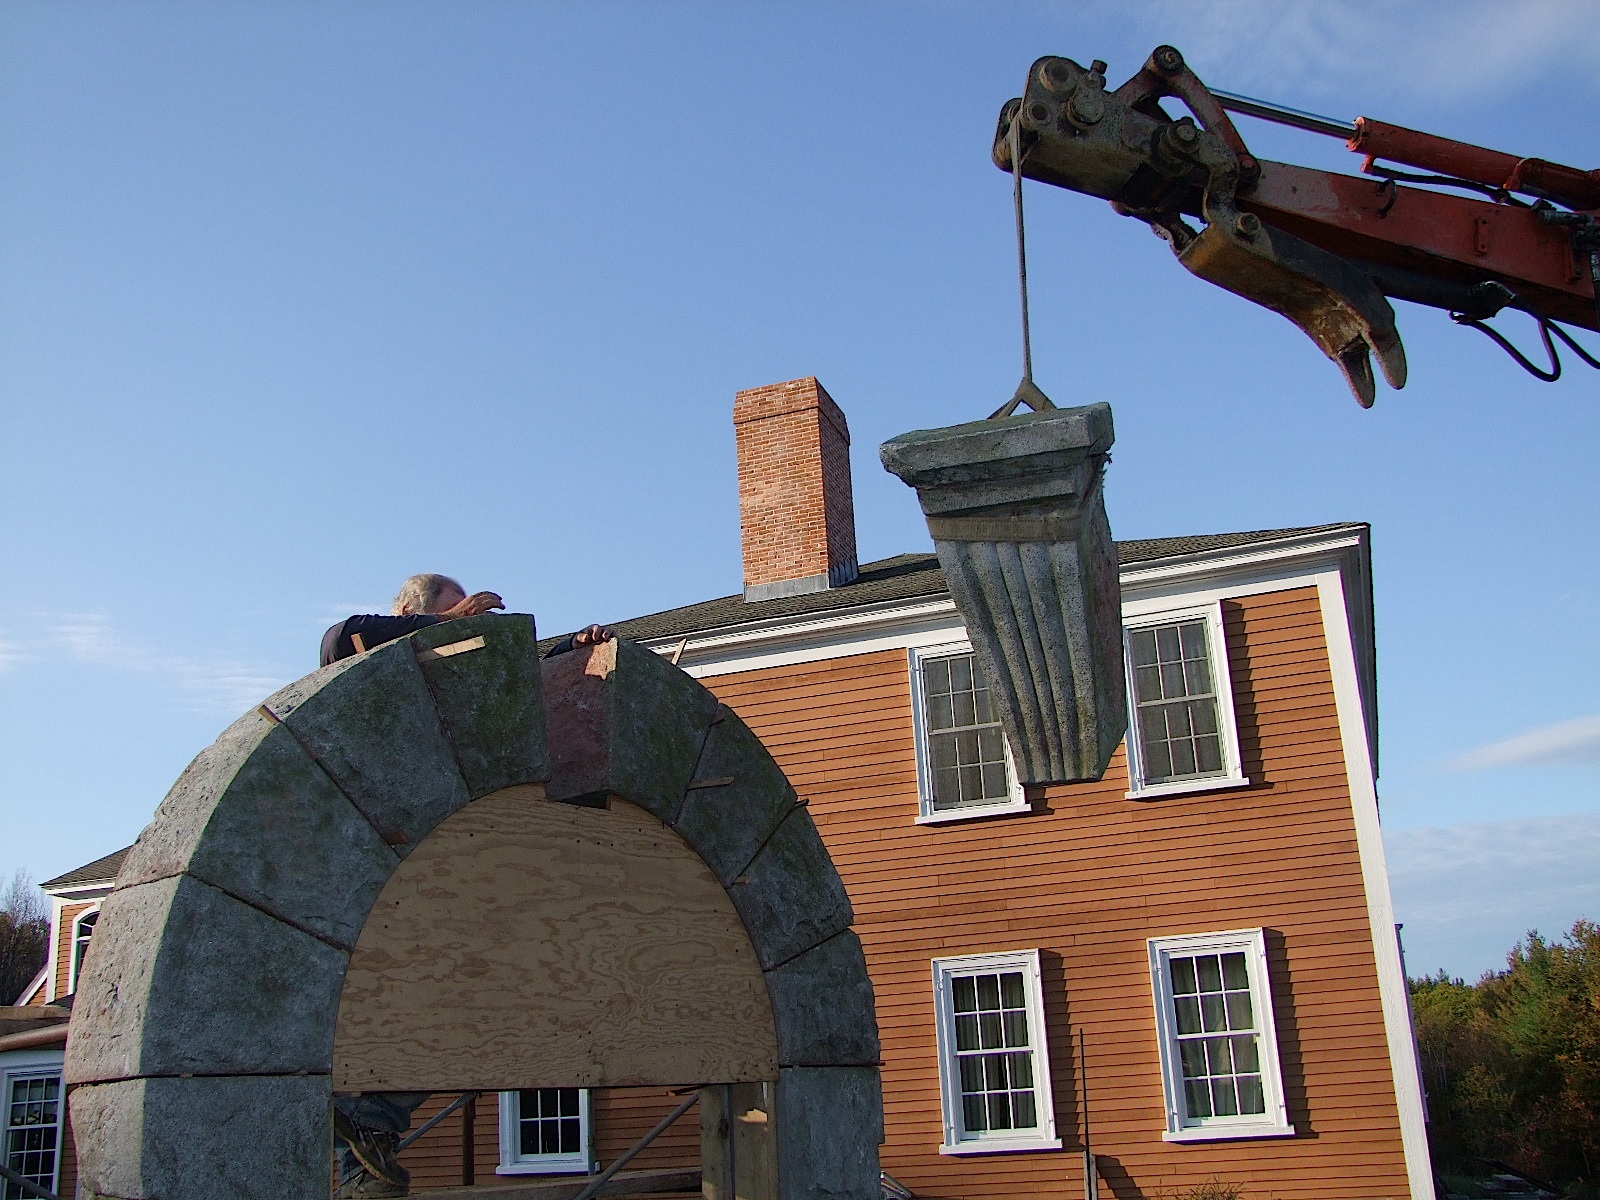
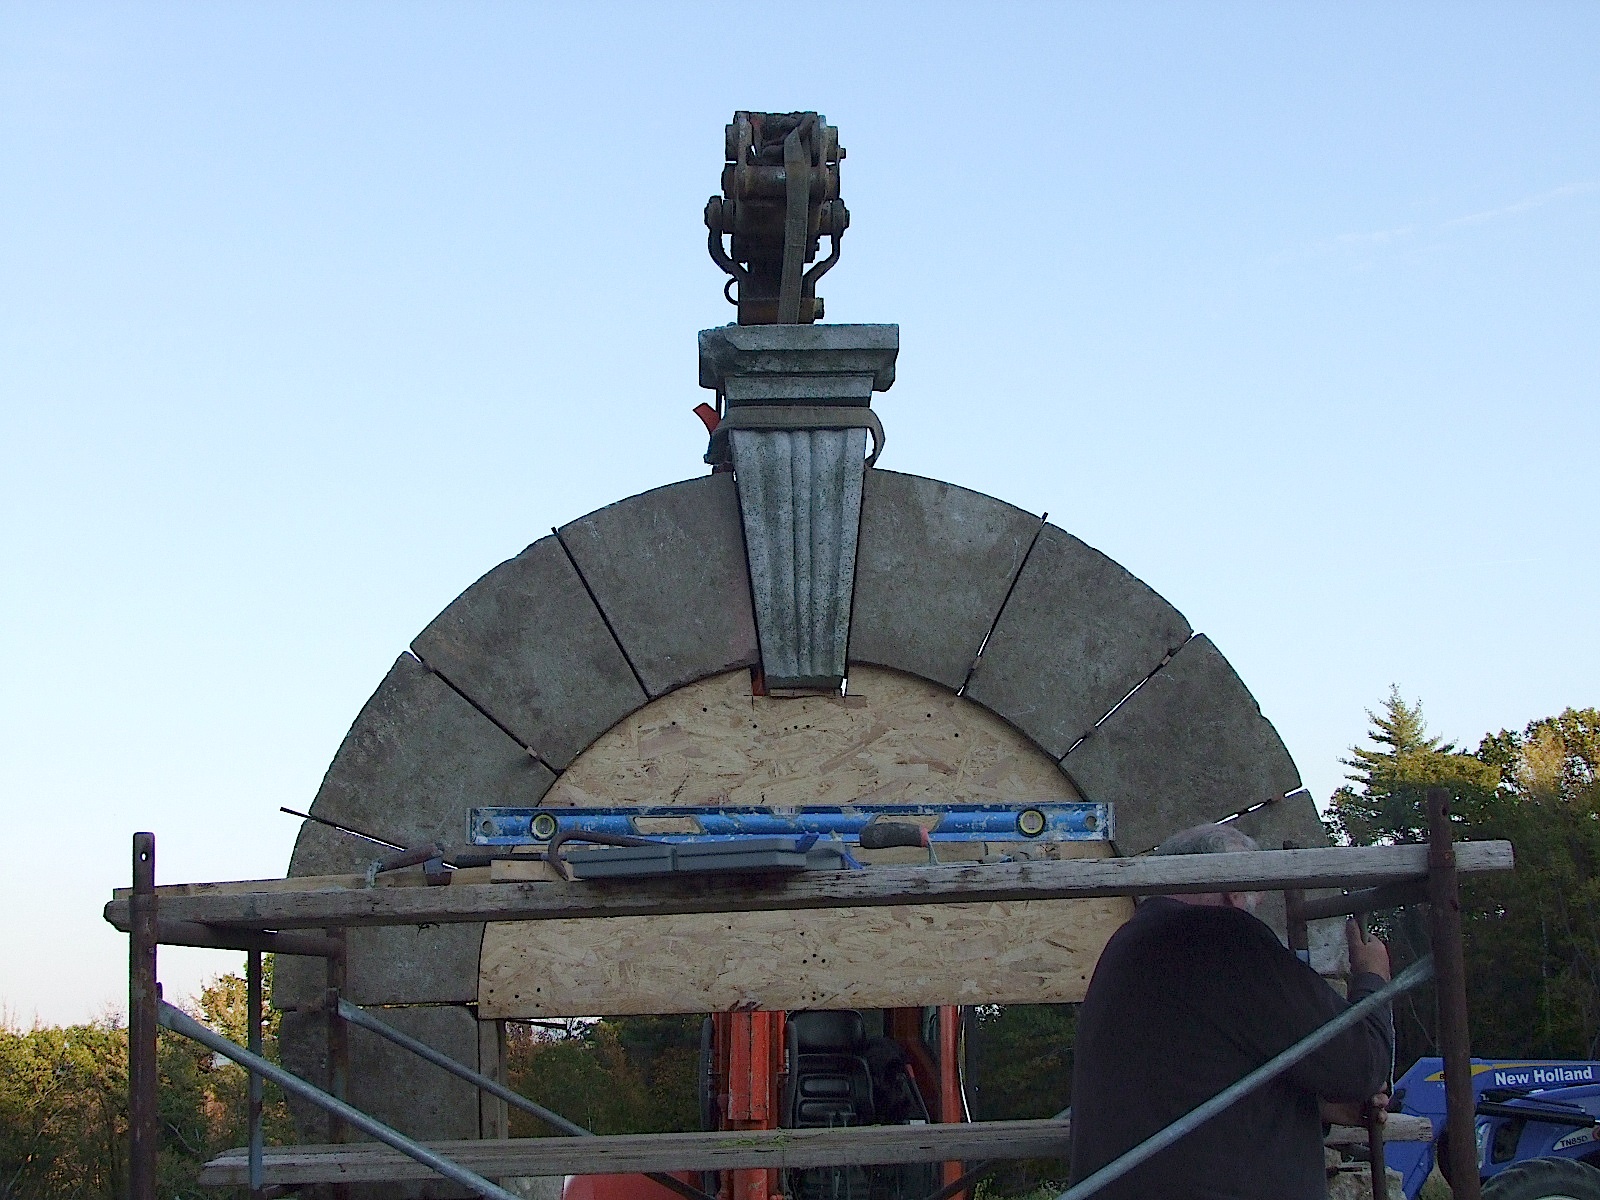
Hoisting the keystone, I was nearly as anxious as when I had all four of my wisdom teeth yanked in a single sitting:
Fitting the keystone, this proved the most difficult part of the project as the stone wasnŐt as well finished as the other stones of the arch for the fact that it originally was only visible from the street and not from within the building like the rest of the arch was:
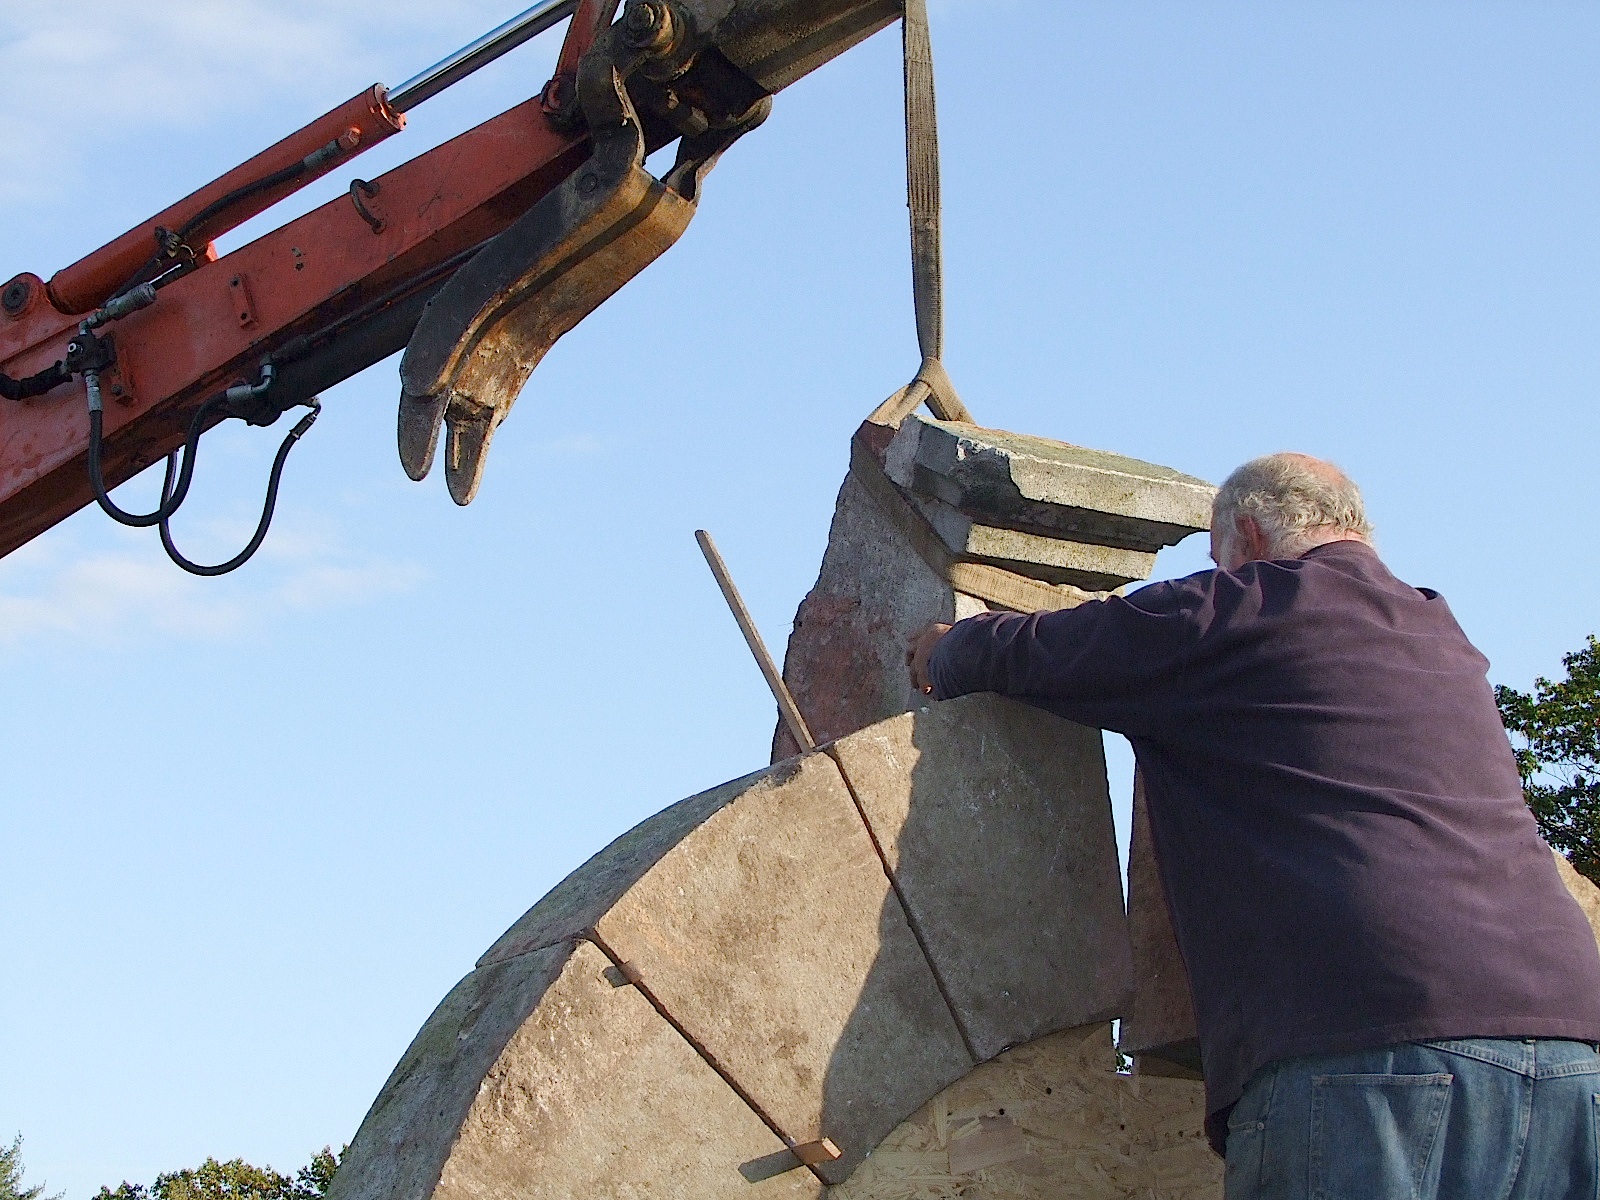
Keystone in place, after much effort. You can see that one corner of the keystoneŐs cornice is MIA. ThatŐs not because of any Civil War battle or anything like that. That damage probably happened when the building was demolished:
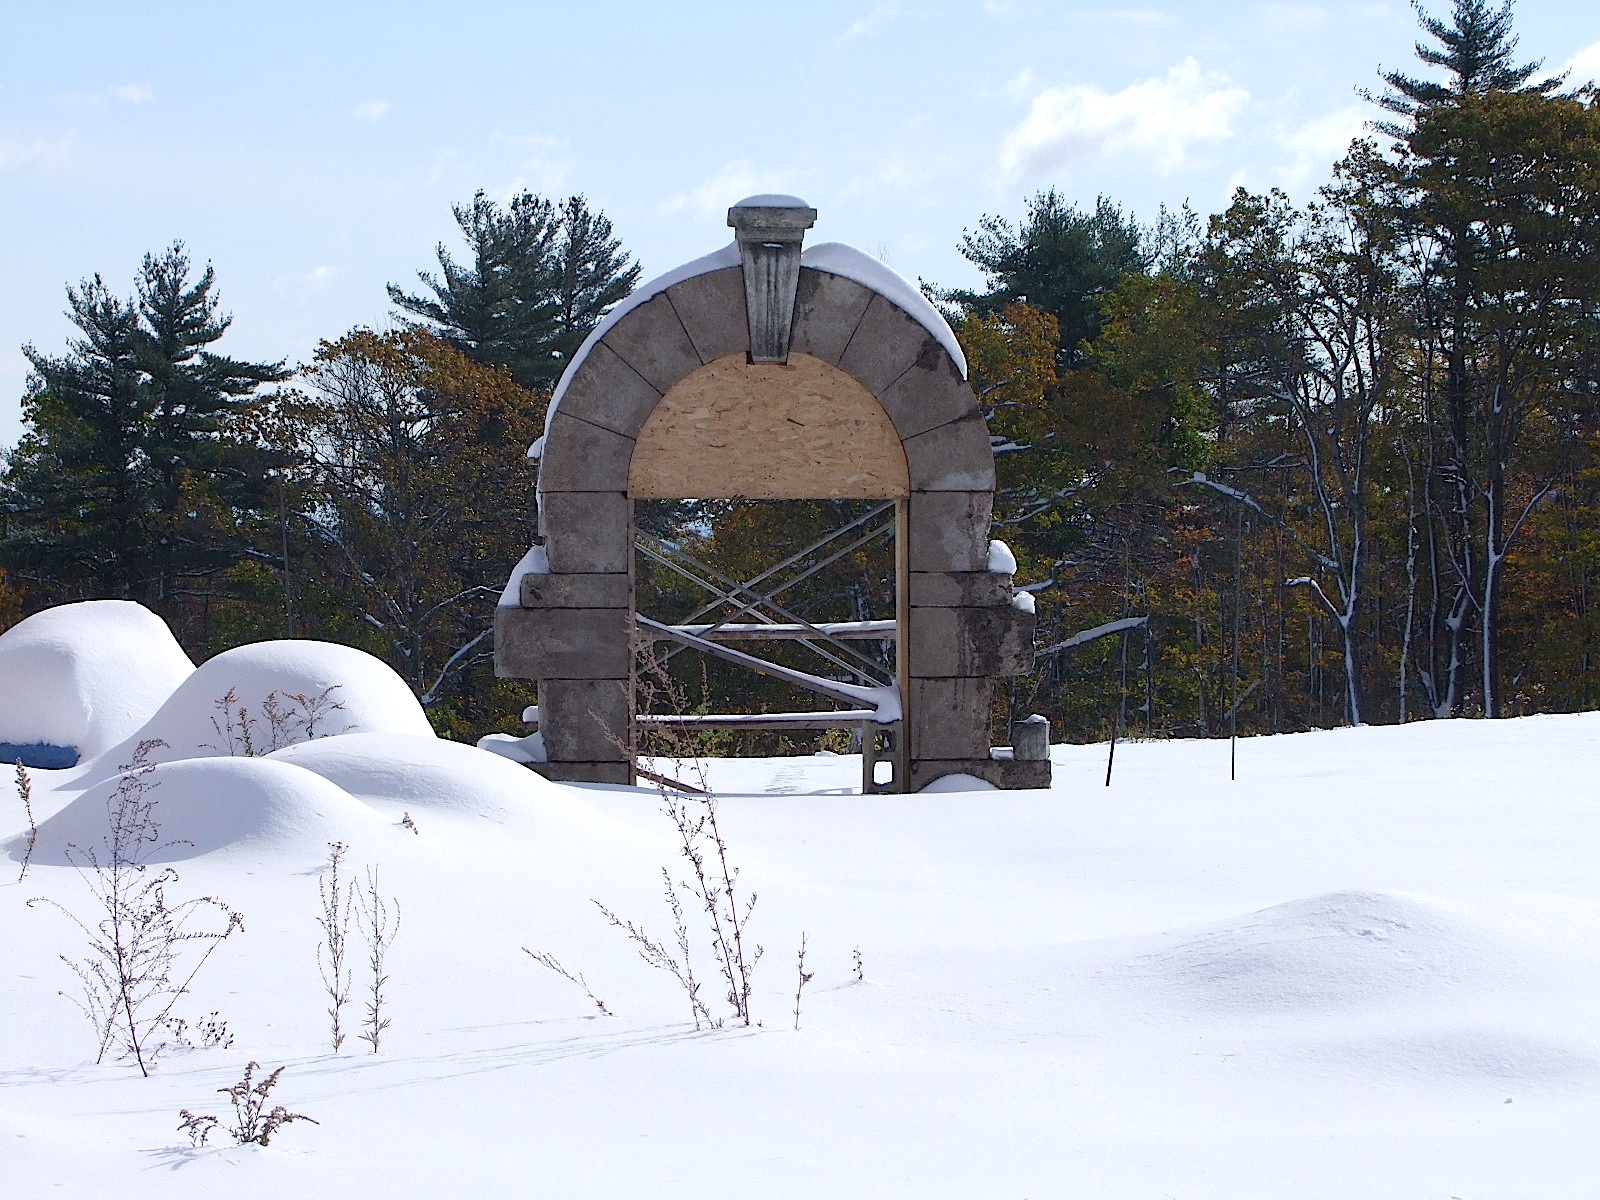
And hereŐs the current state of the arch, what it will look like during winter, except this is the morning of October 30, 2011, when we got 21Ó of globull warming. Just imagine that this is January 17, 2012, and thatŐs what it will look like then (note that there are still some colorful trees behind it, snow isnŐt supposed to happen until later):
After the snow melted, we've had some great weather for doing the
brickwork, a wall flanking each side of the arch. The walls will add to
the overall look of the arch, but they are a necessity to buttress
against the natural outward force applied to the columns.
I have a lot
of leftover bricks from the ca.1810 Federal house that I dismantled two
towns west of where we live. This house has two massive chimneys, with
each having four fireplaces.
I reassembled the structure, and then had Clay make the chimneys and
fireplaces (you can see his work in the photo where the keystone is
hoisted). Cement block was used where it isn't visible, thus my piles of
bricks that need to find a place where they can rest happily.
I have the
ability to design and visualize stuff in my head, likely because I am
left-handed. After a few days of pondering, I settled upon something
that I think compliments the large arch. Trying to describe it to Clay
proved to be a chore, but we eventually got on the same page.
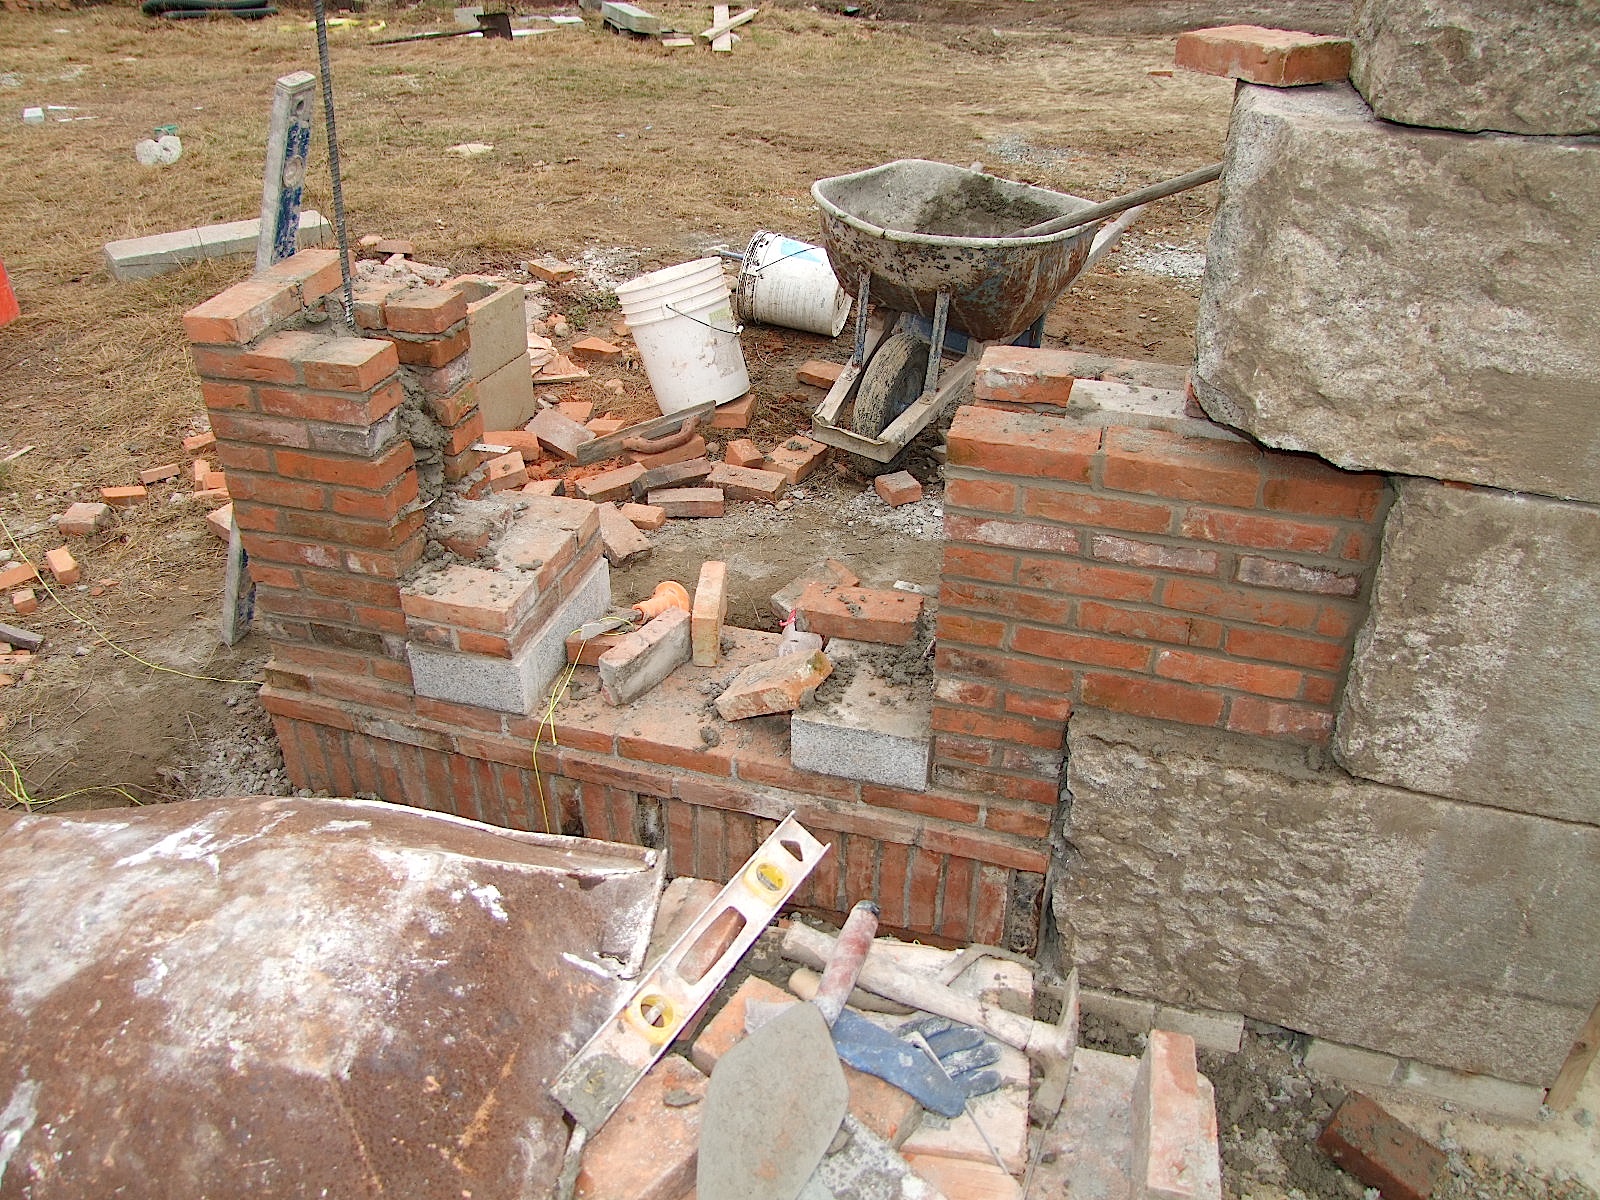
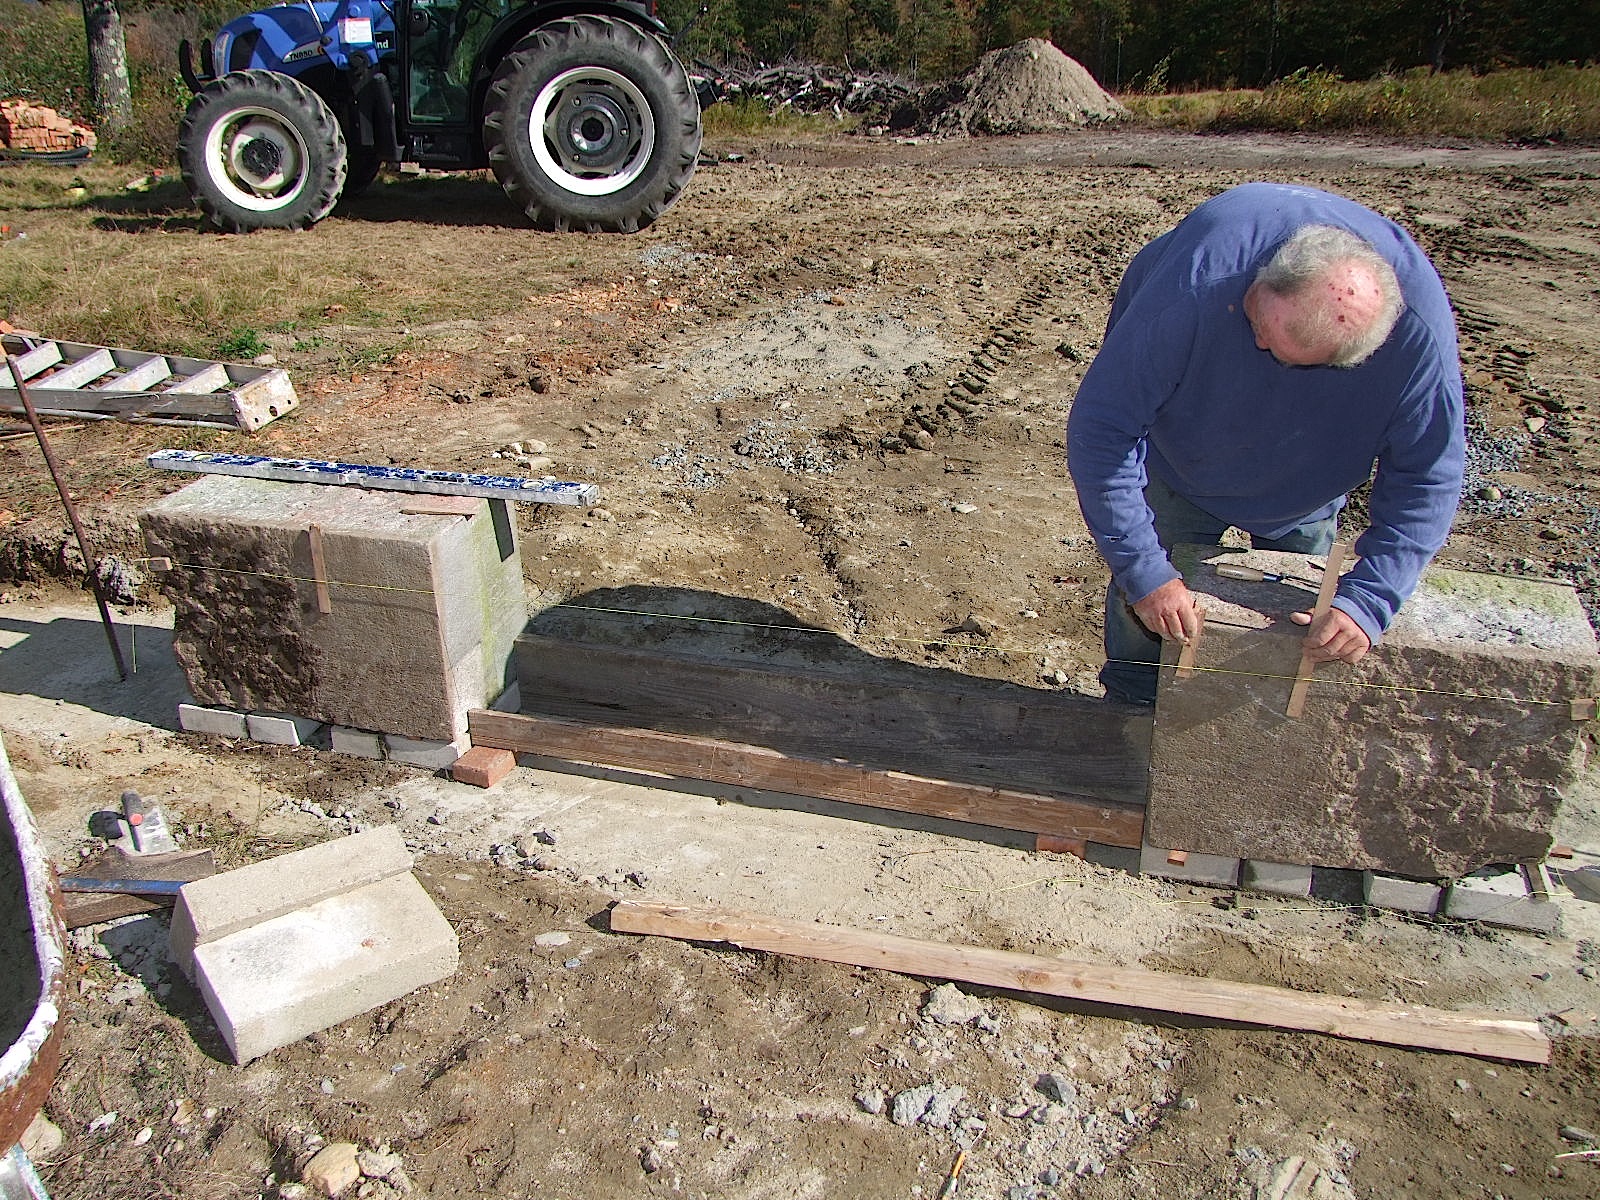
Each wall will have a small arch built into it. You can see the granite
plinths of the yet to be built pilasters, which themselves will serve as
the columns of the smaller arch. The small arch will have a
granite capital and keystone, there will also be a decorative cornice
along the length of the wall, finally capped with bluestone. Because the
pieces of the large granite arch are not a uniform depth, the bricks
are set back from the face suggestive of quoins.
It's a bit difficult to see through Clay's mess, but this is what the first wall looks like now, a few days before Thanksgiving: